


Negative Lab Pro color cast issue, and how to make it work properly
Read this if you use NLP... and yeah, I see it as an issue.

Disclaimer: this post gets quite technical about Negative Lab Pro, which is a software used to convert negative RAW files into positive images.
As film photographers who've embraced the digital conversion workflow, most of us have come to rely on camscanning and Negative Lab Pro (NLP) for transforming our scanned negatives into positive files. But like any sophisticated tool, NLP has its limitations, and understanding them can save you hours of frustration in post-processing.
THE PROBLEM: Recognizing a Frustrating Pattern
This isn't the first time I've encountered this issue. In fact, it's become a frustrating pattern that I initially misdiagnosed. The problem consistently appears when converting images with a specific color predominance, resulting on bad color casting with innacurate colors and a strong vignetting. A photo of a blue sky usually provides a benchmark to reproduce this scenario, where this limitation becomes apparent.
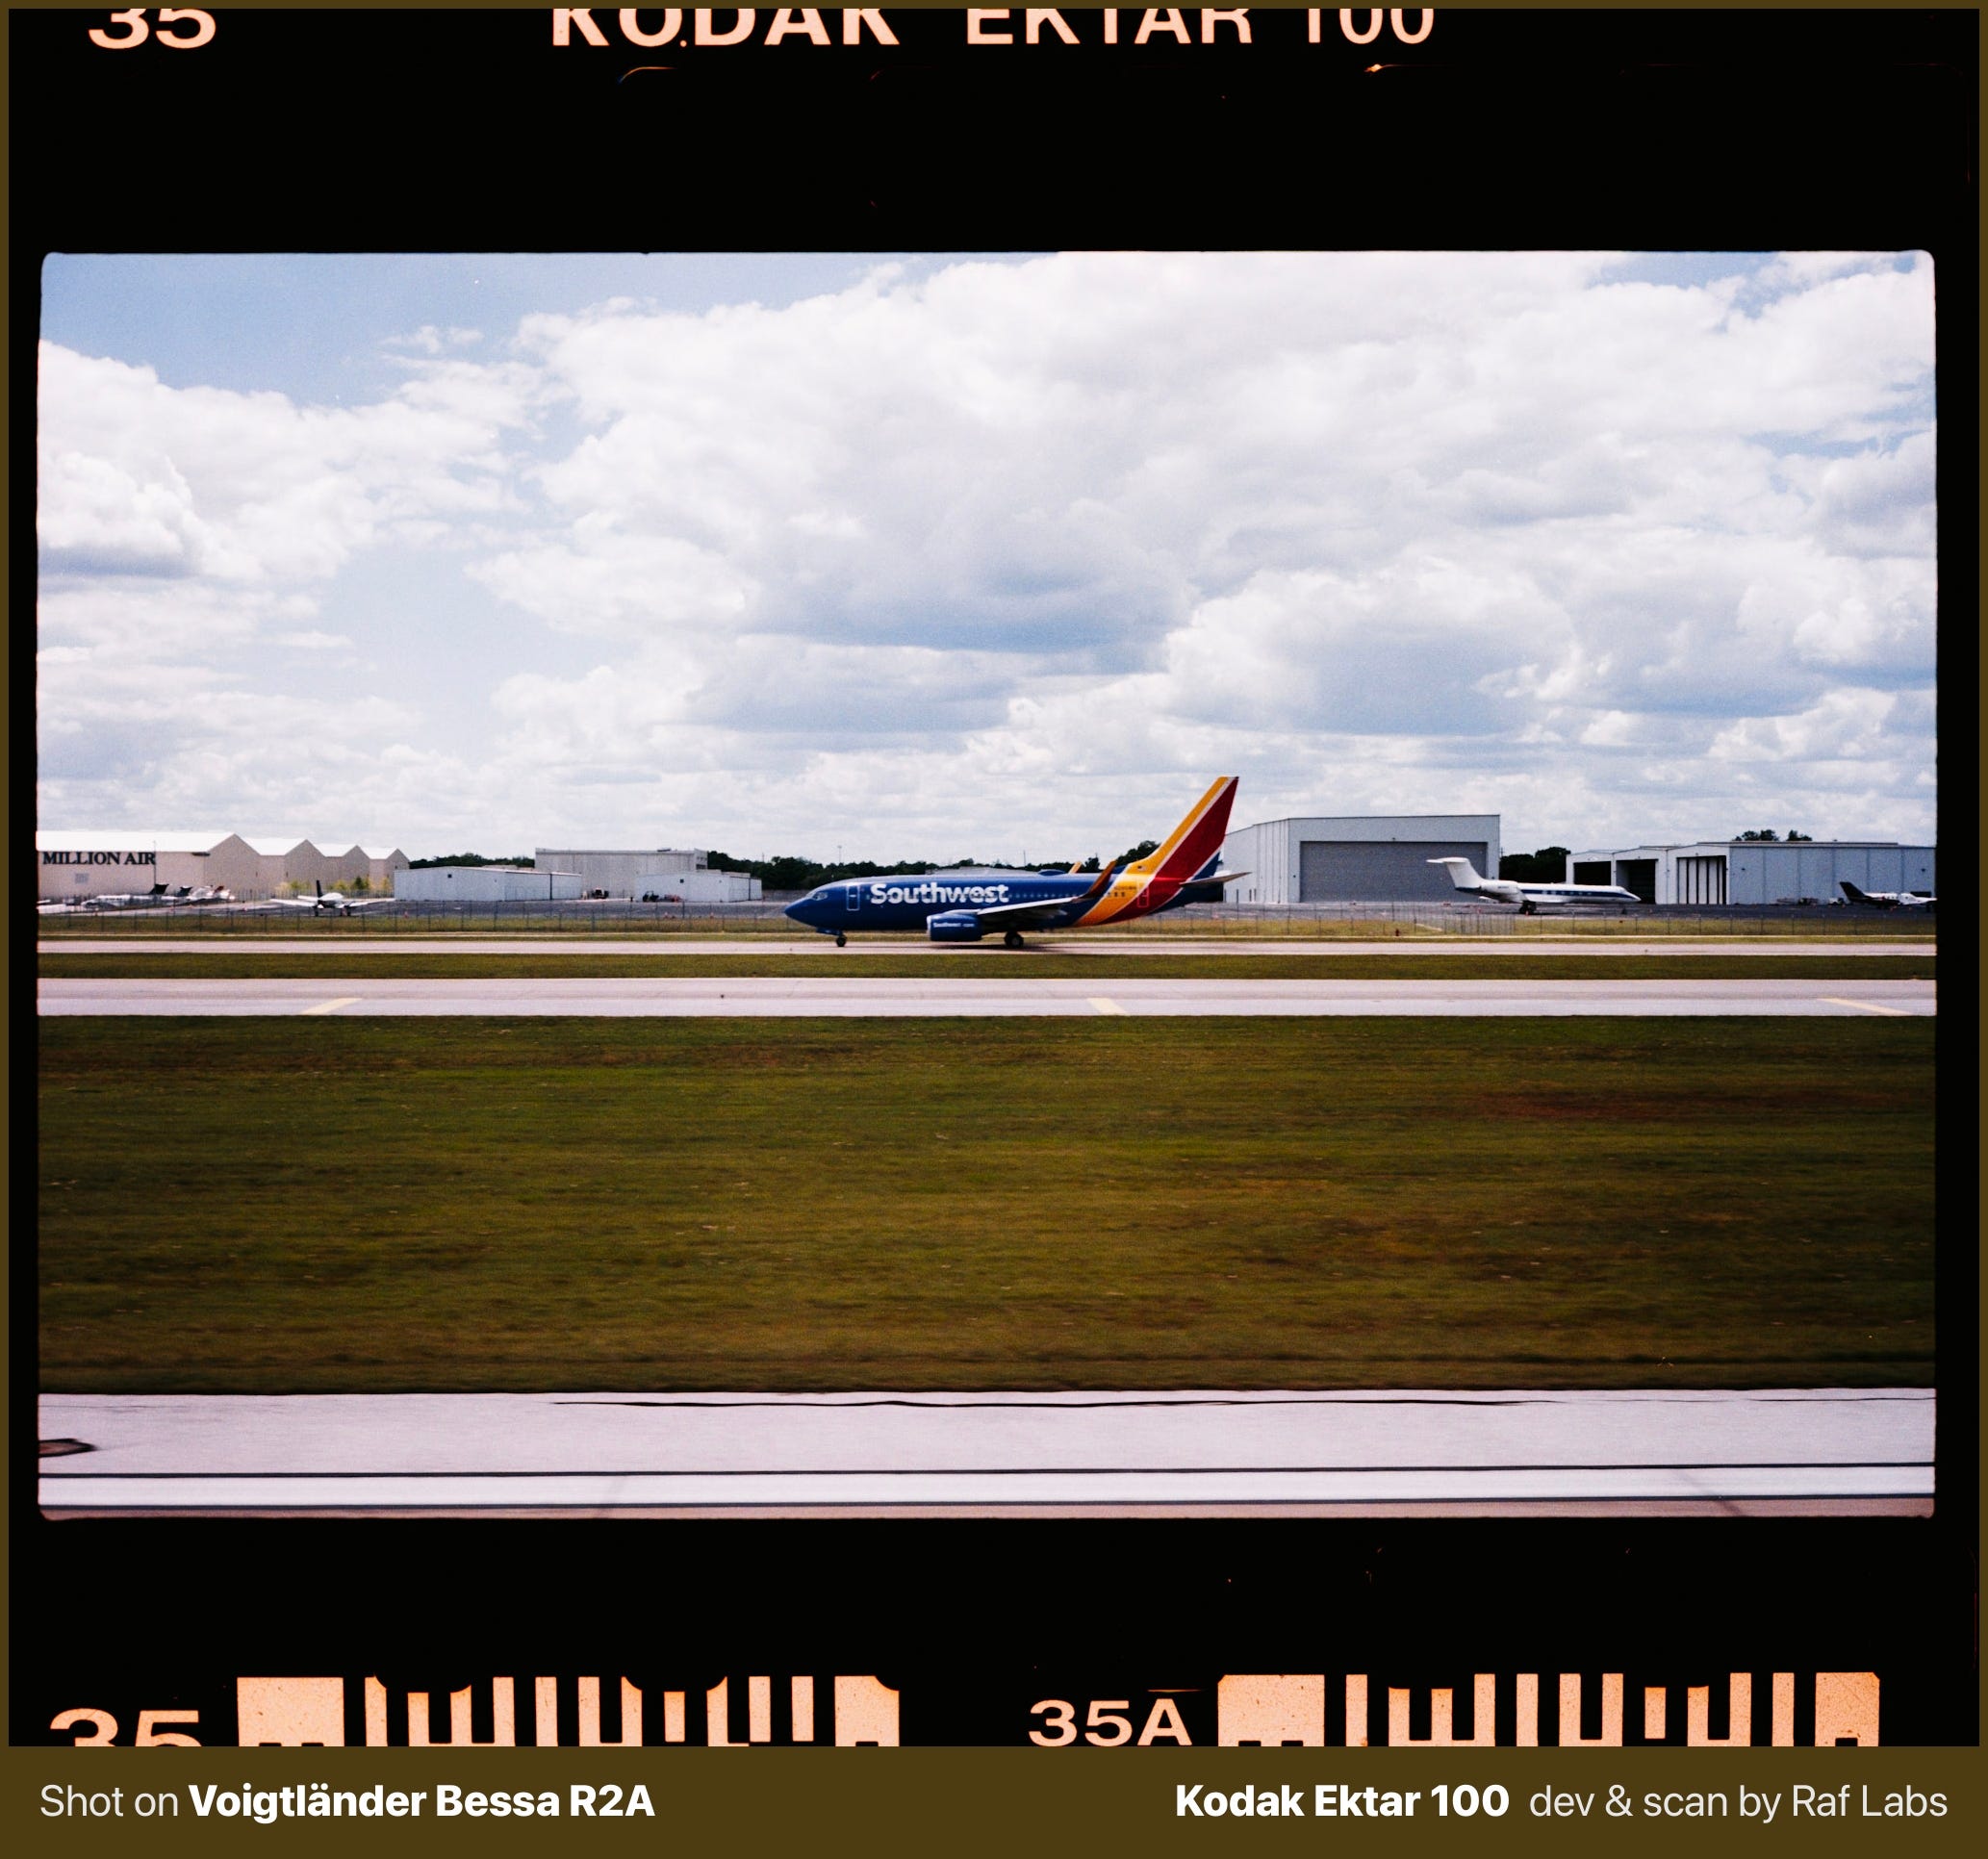
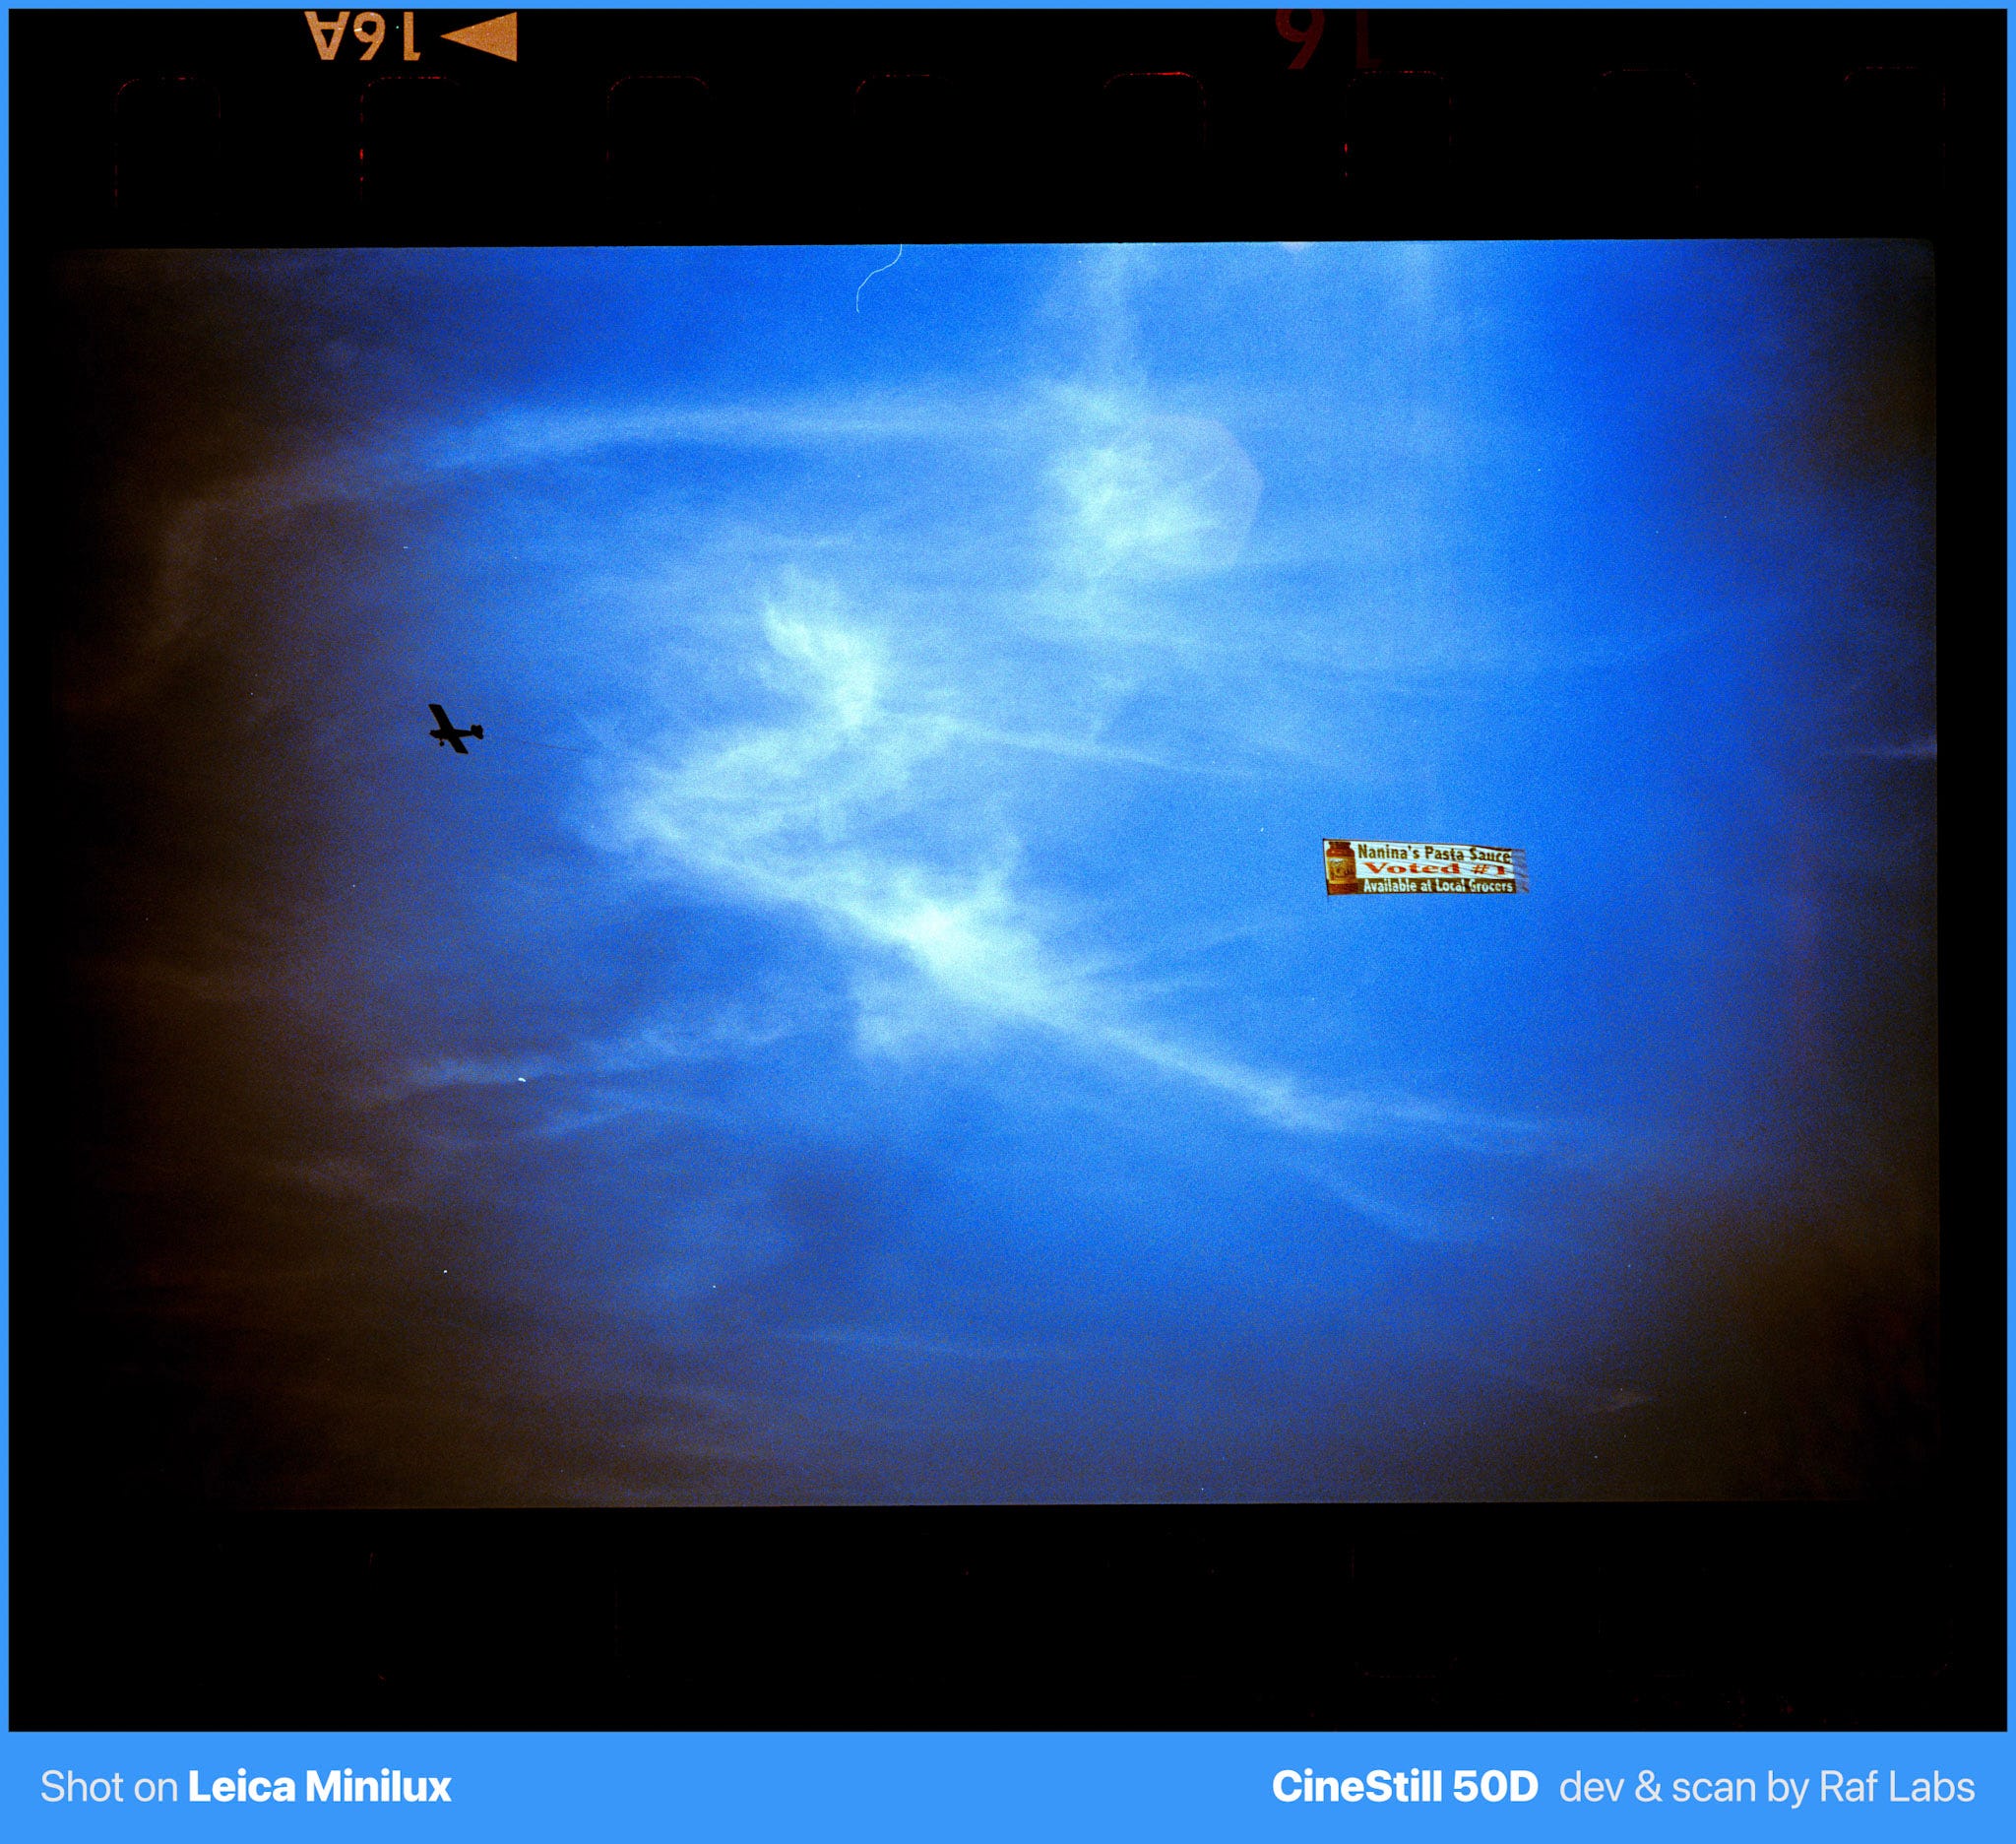
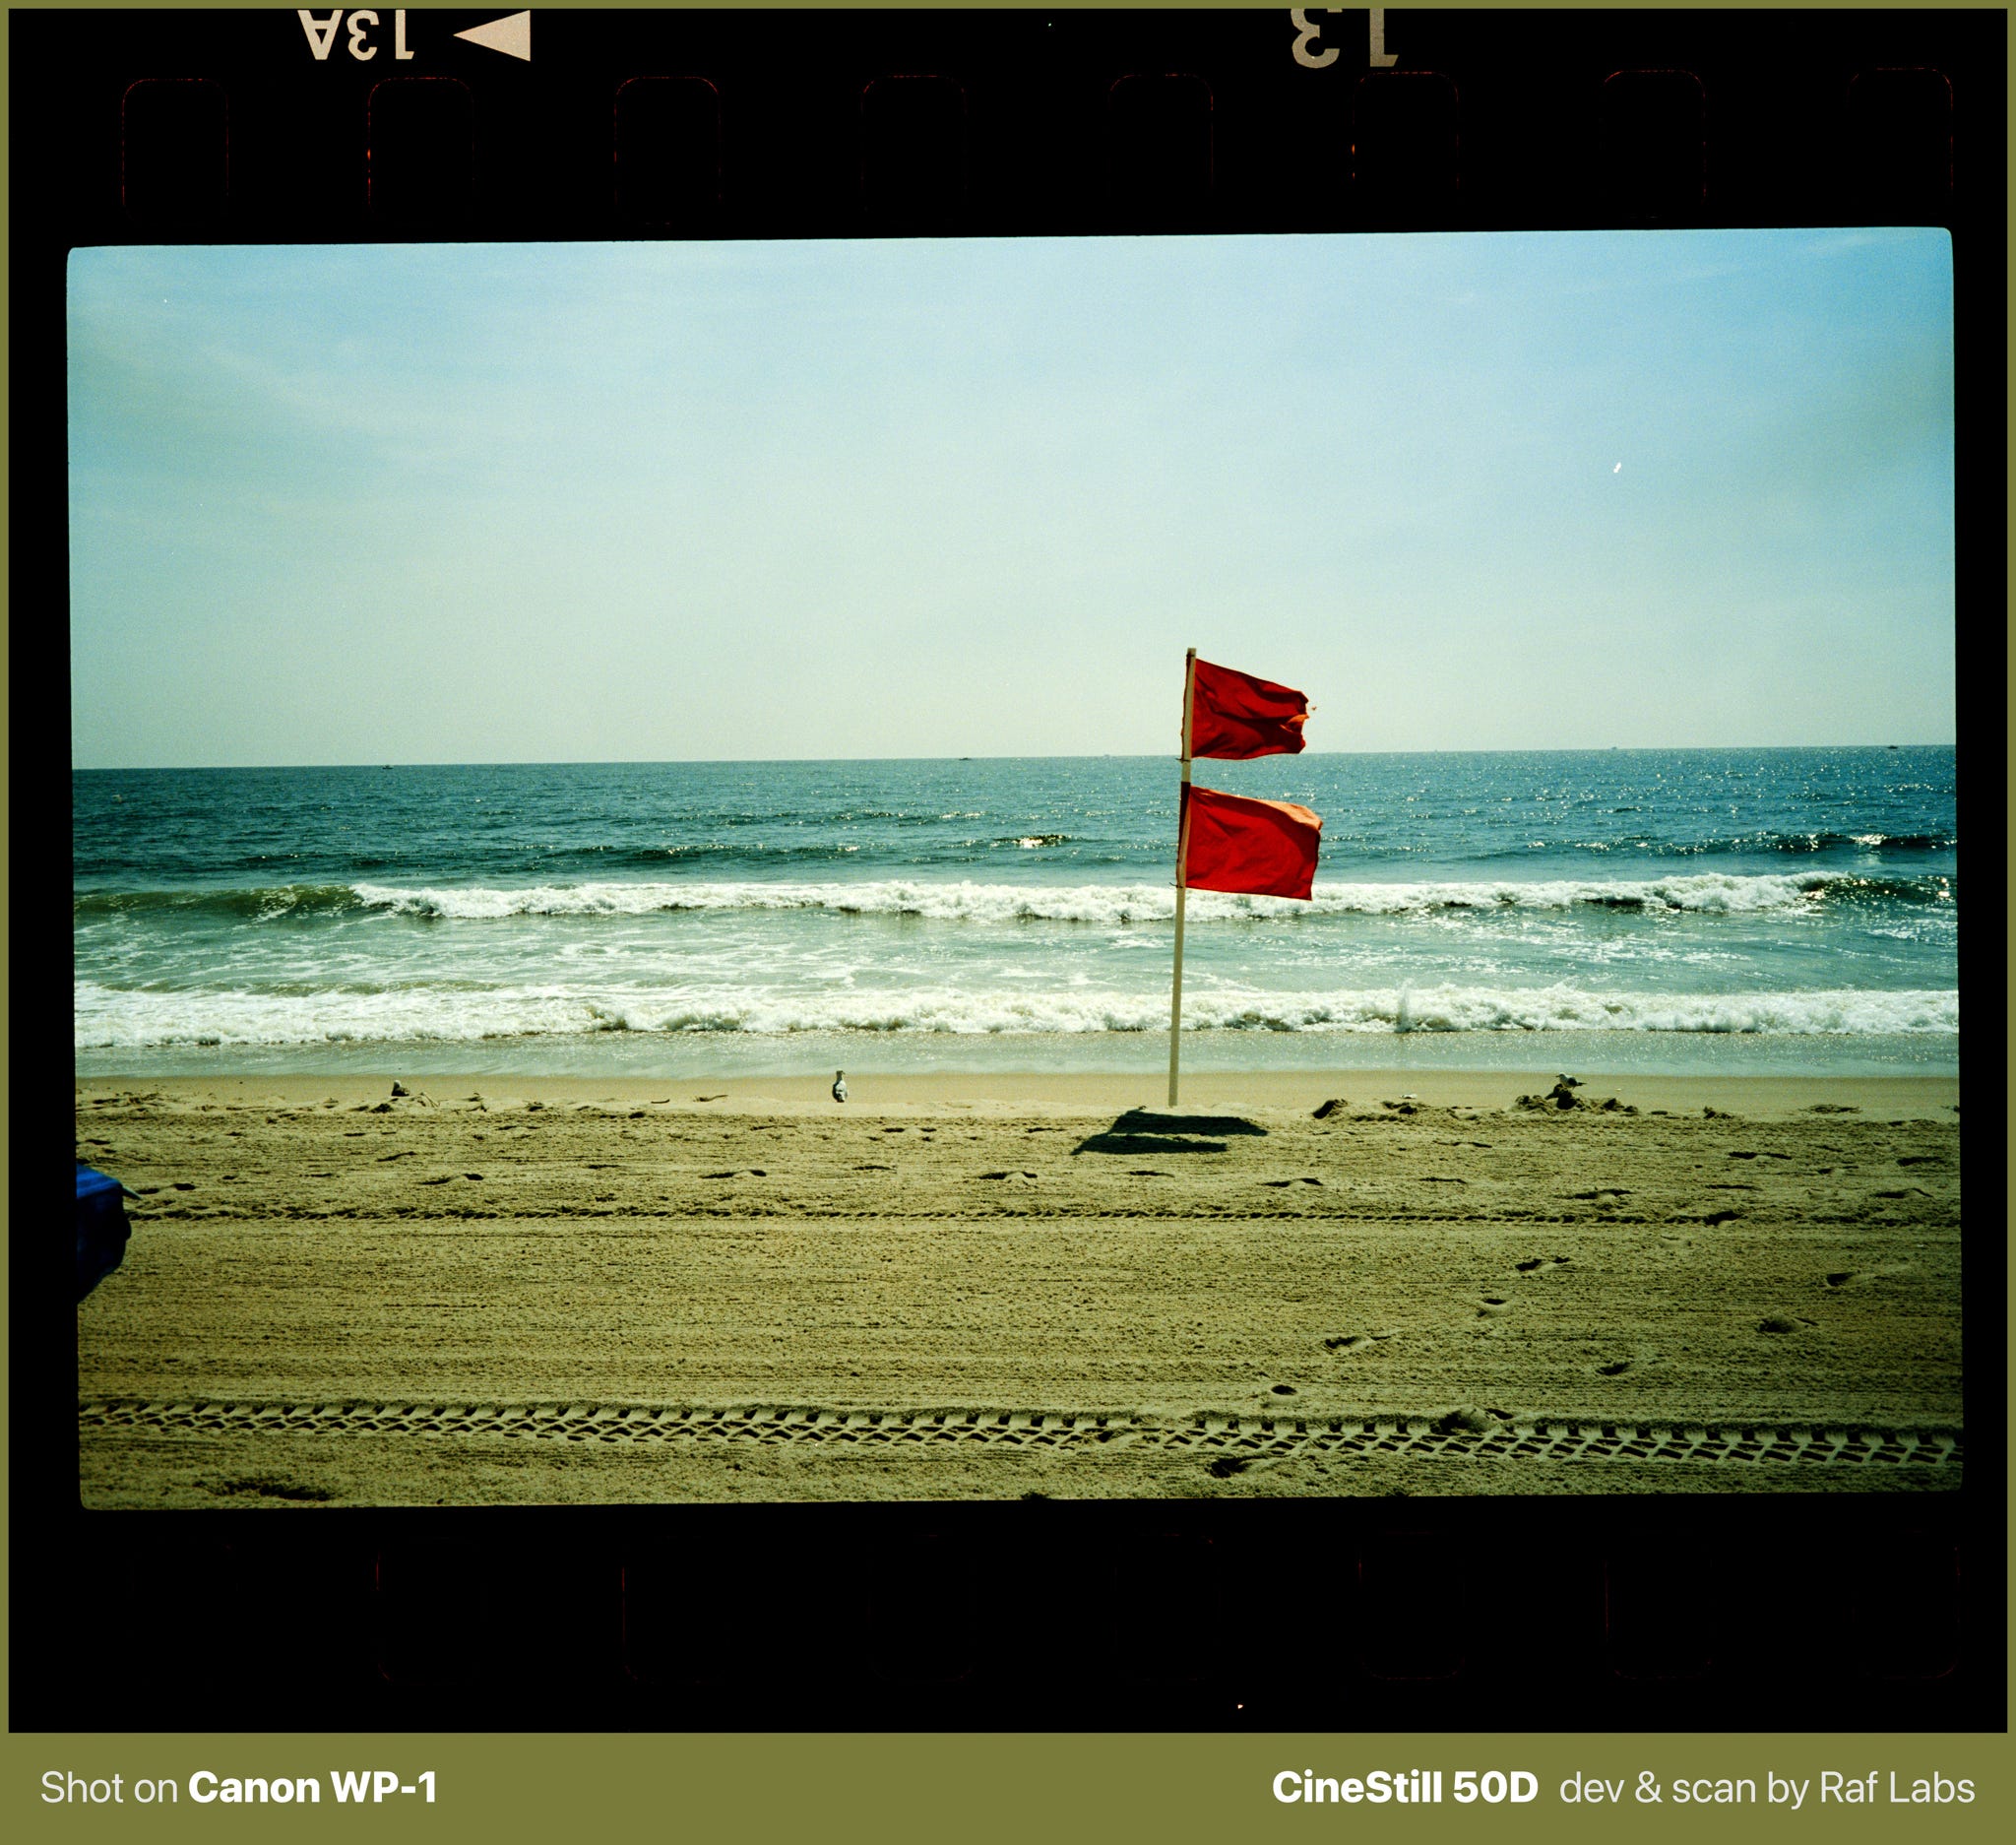
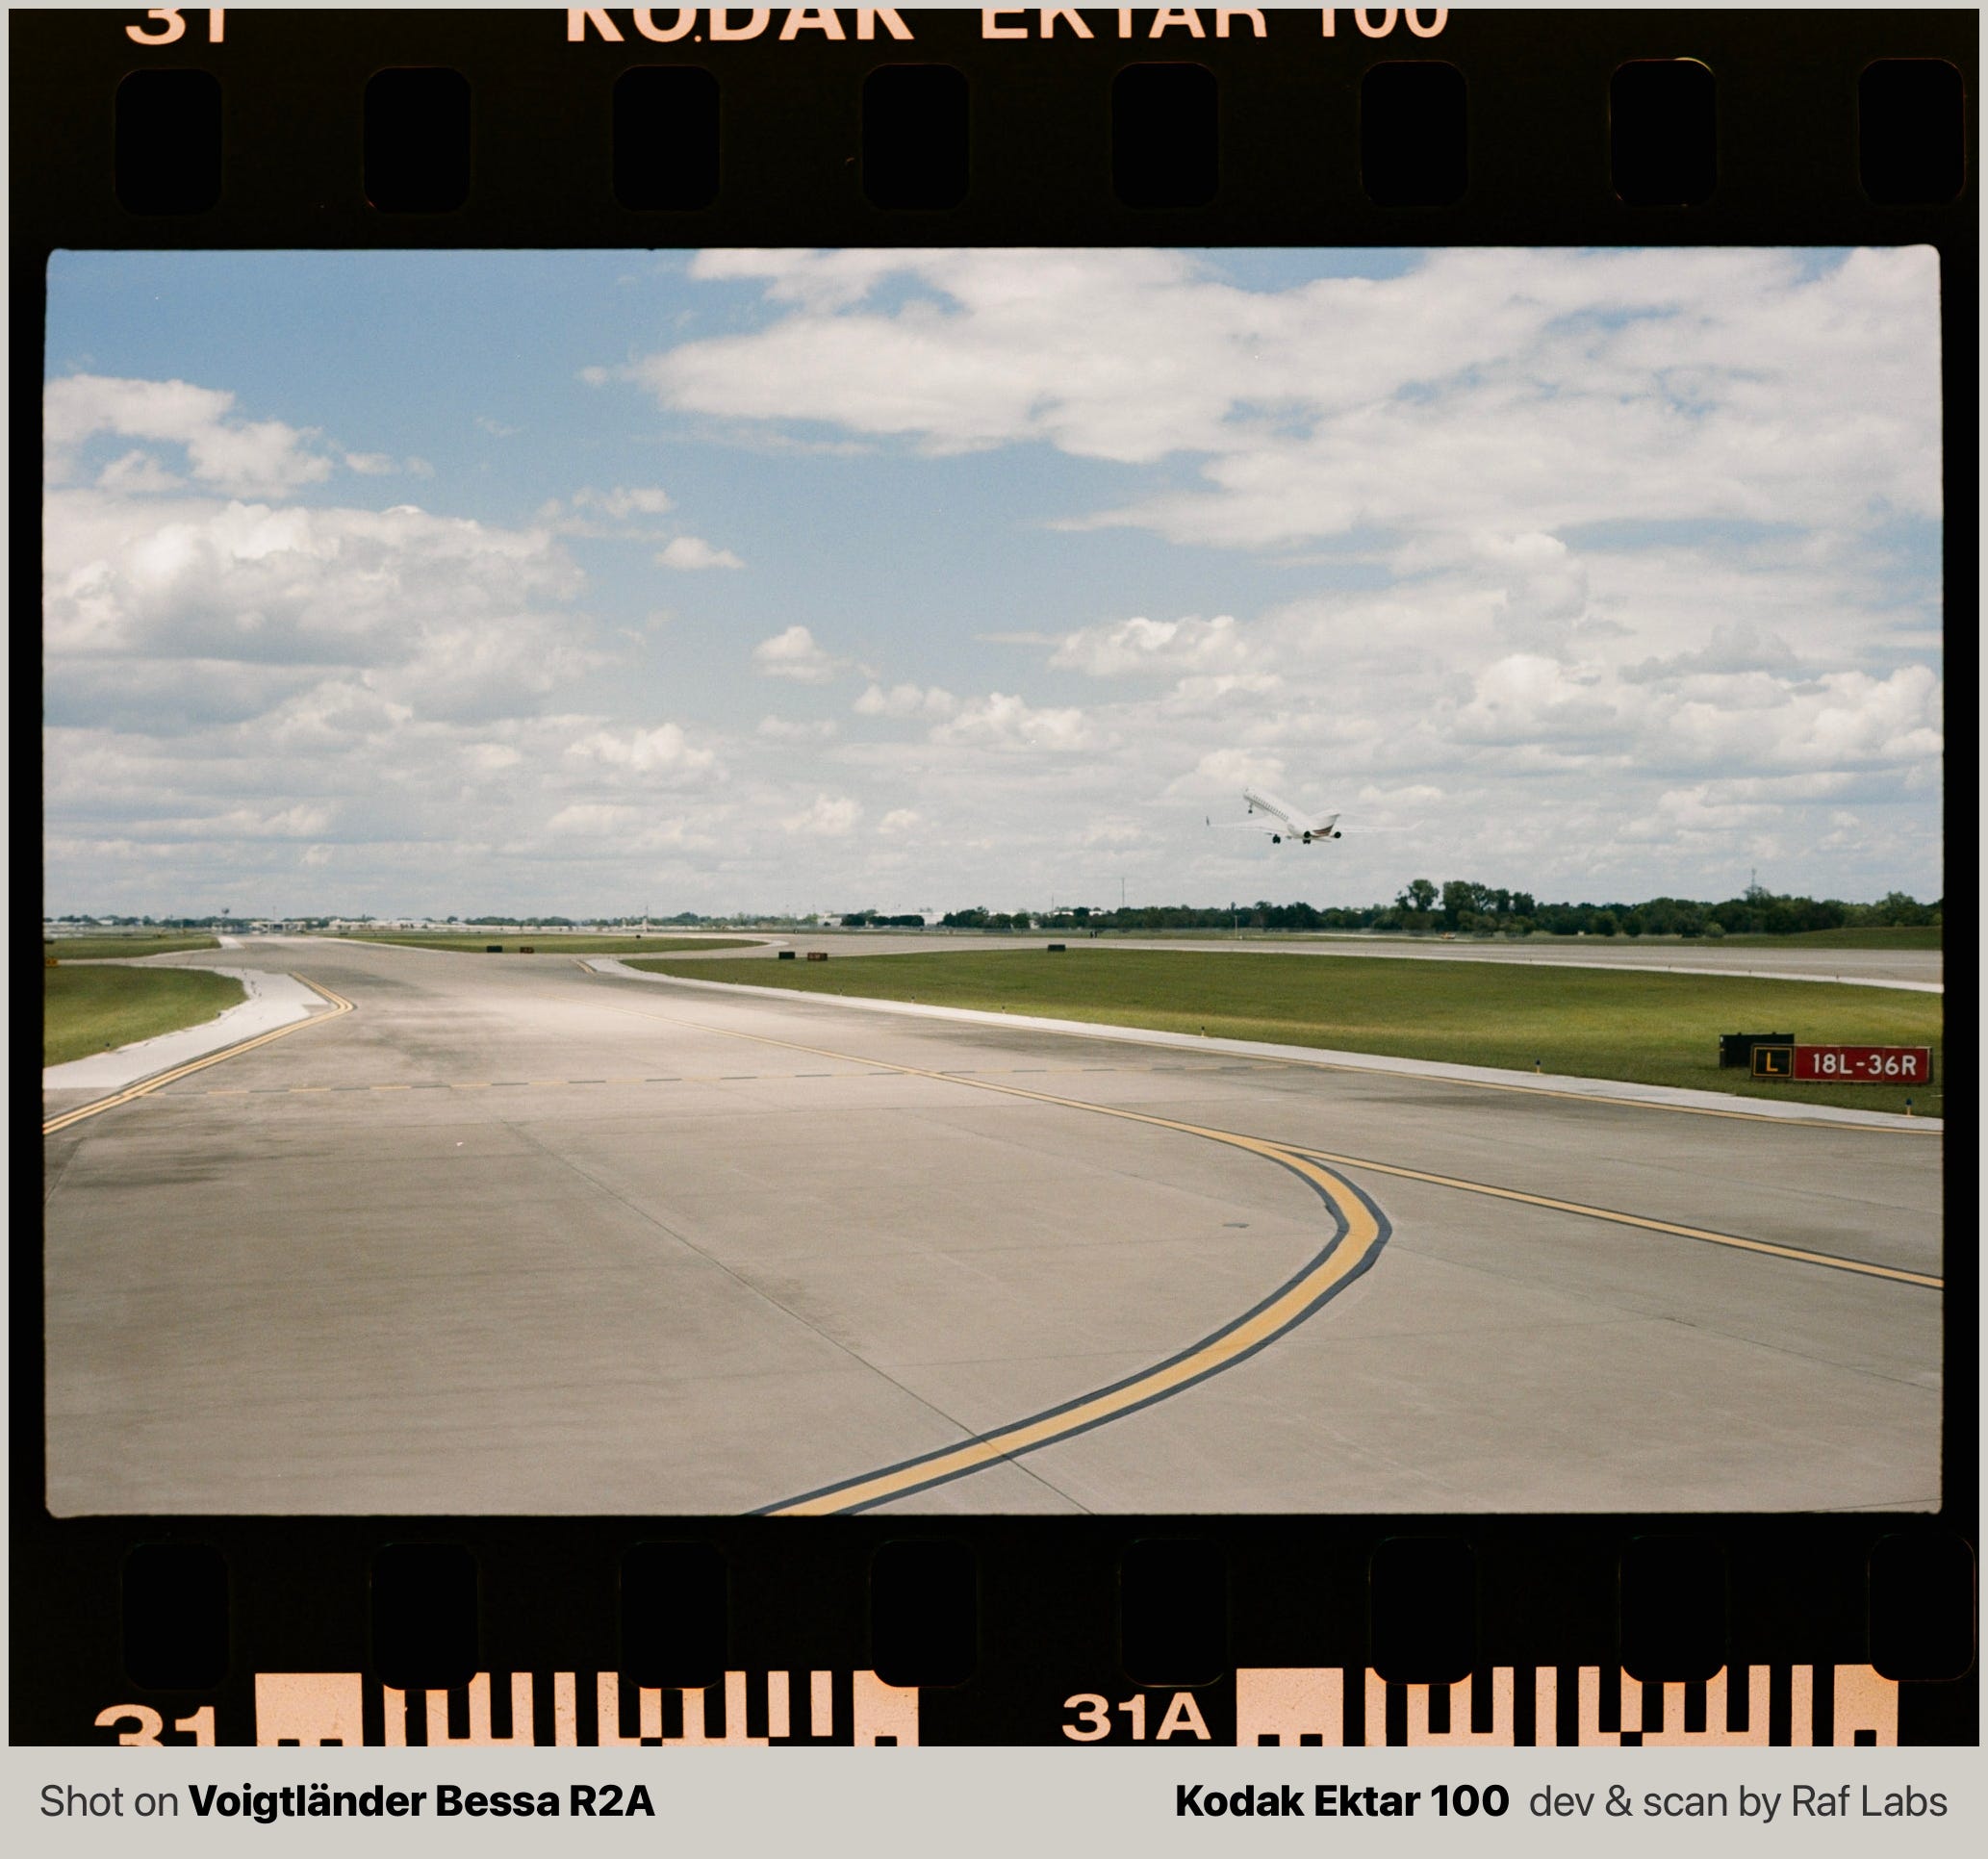
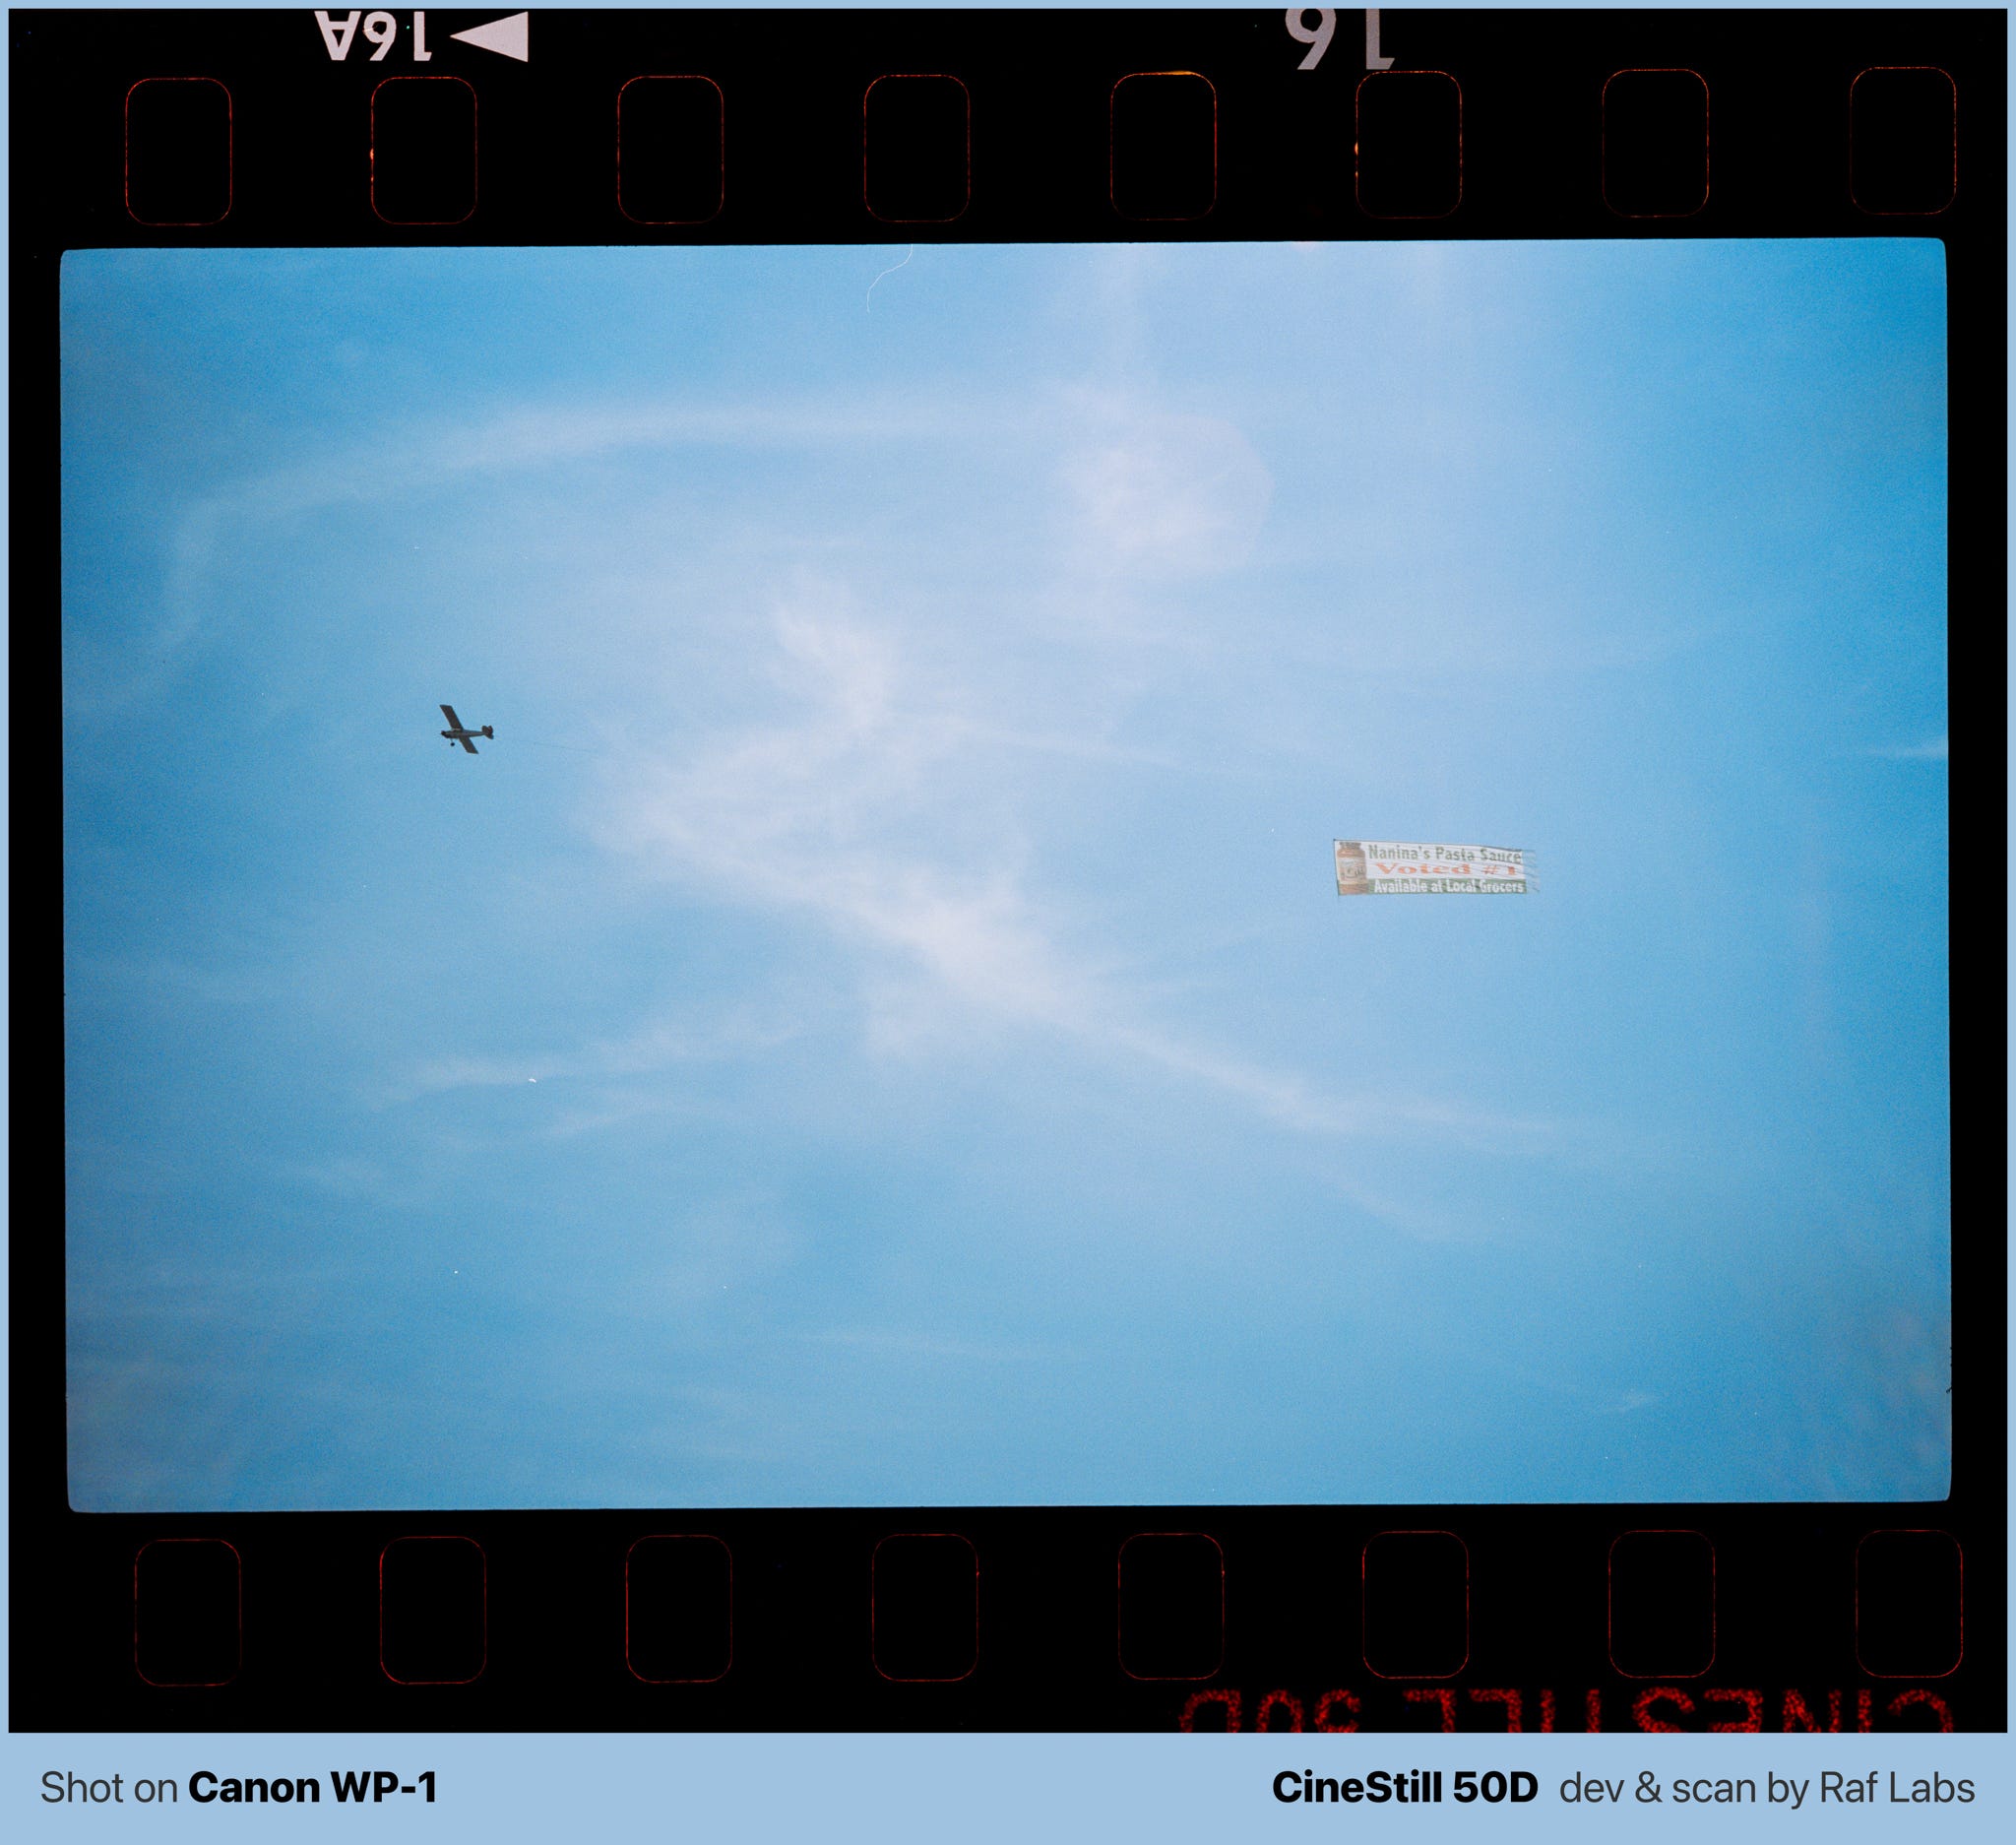
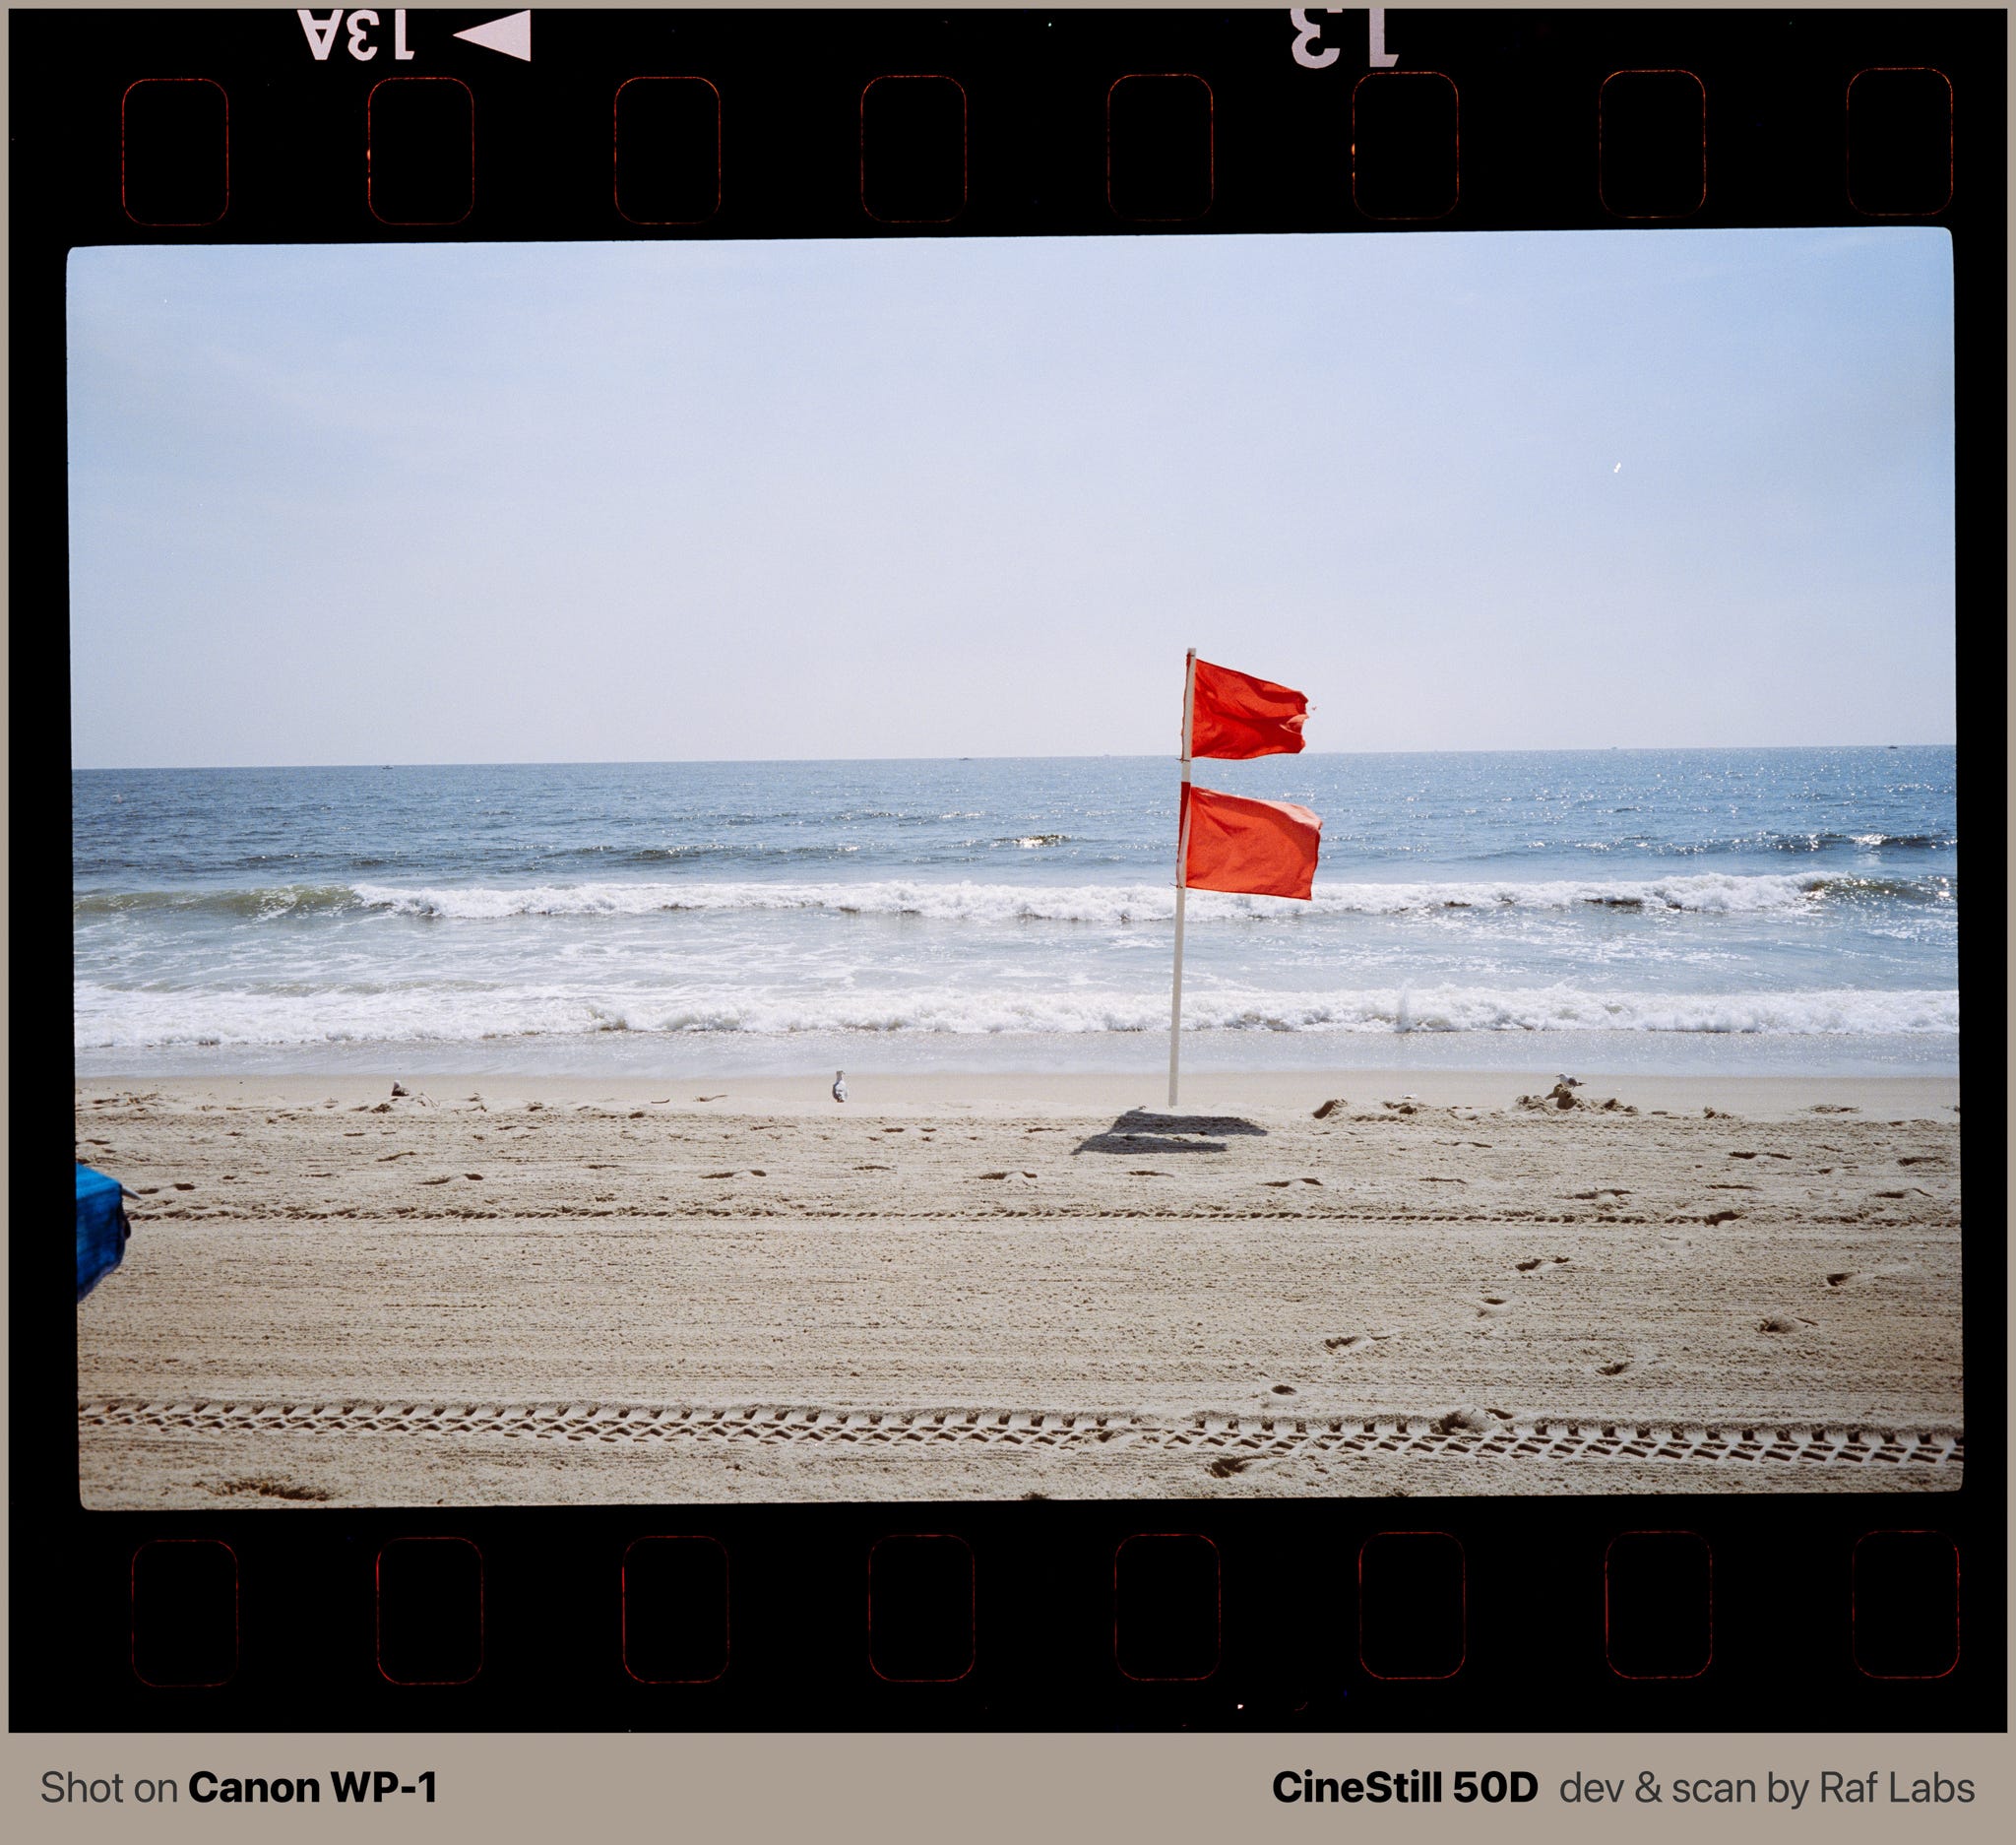
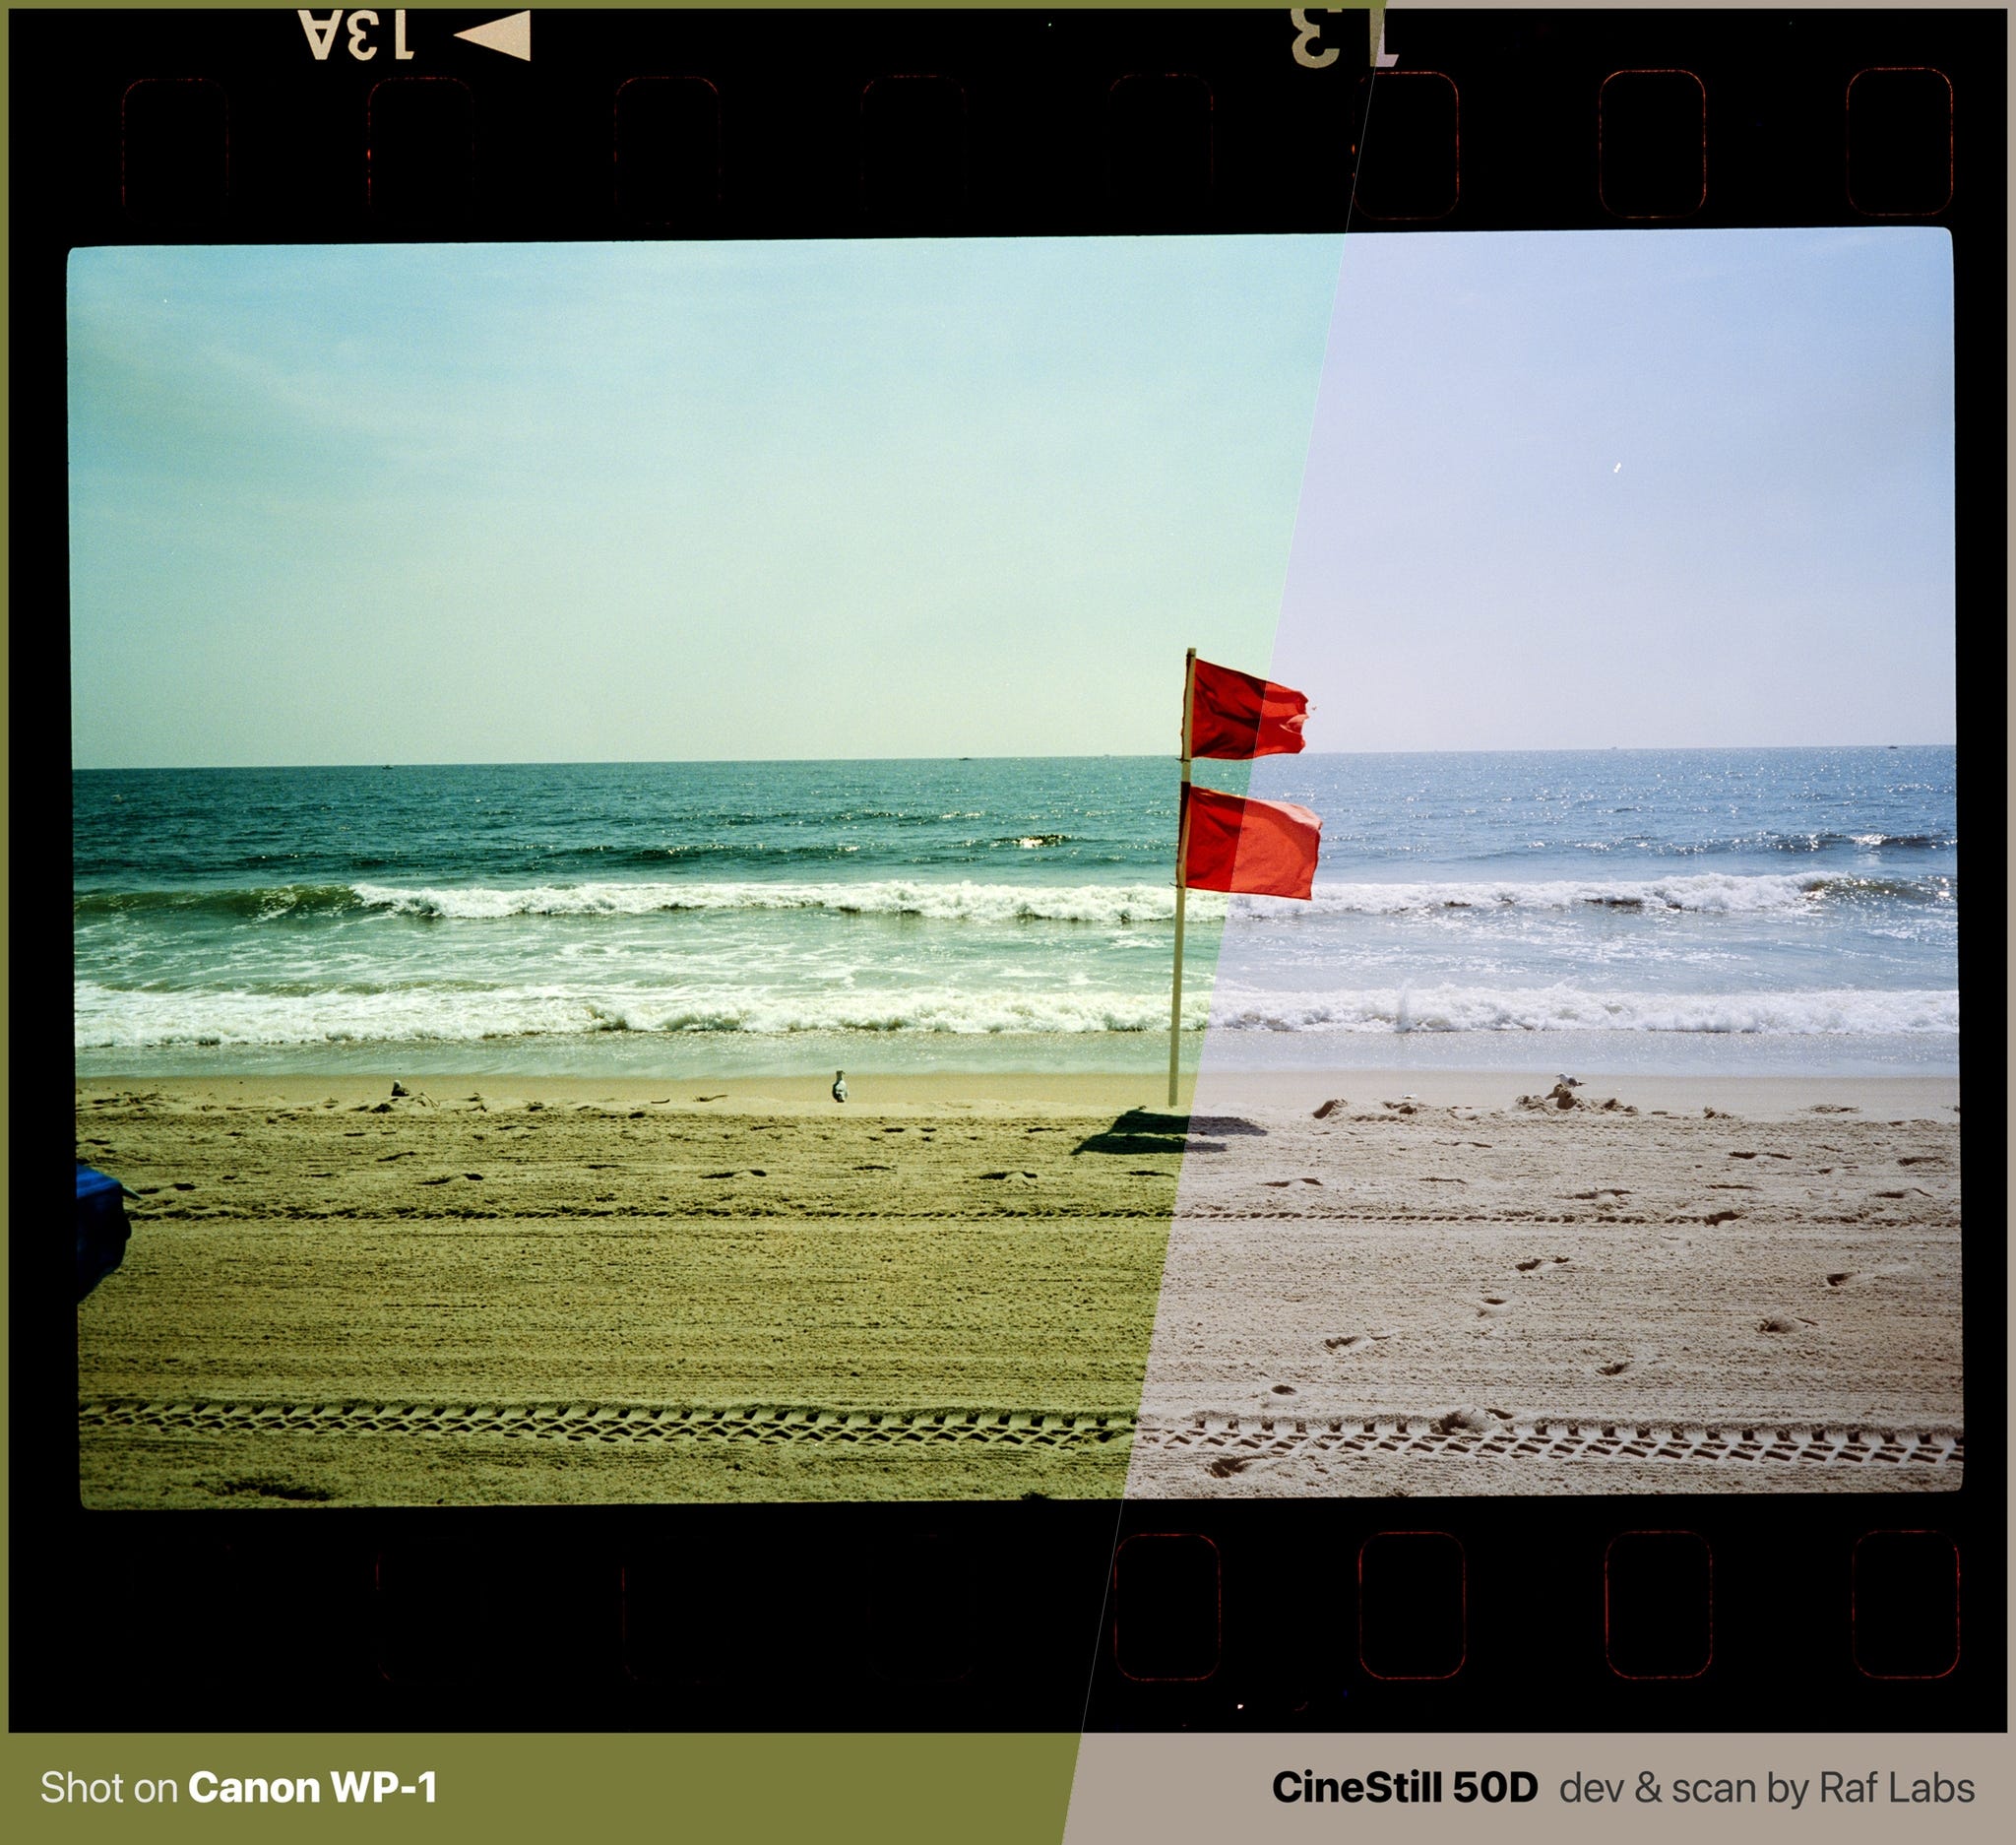
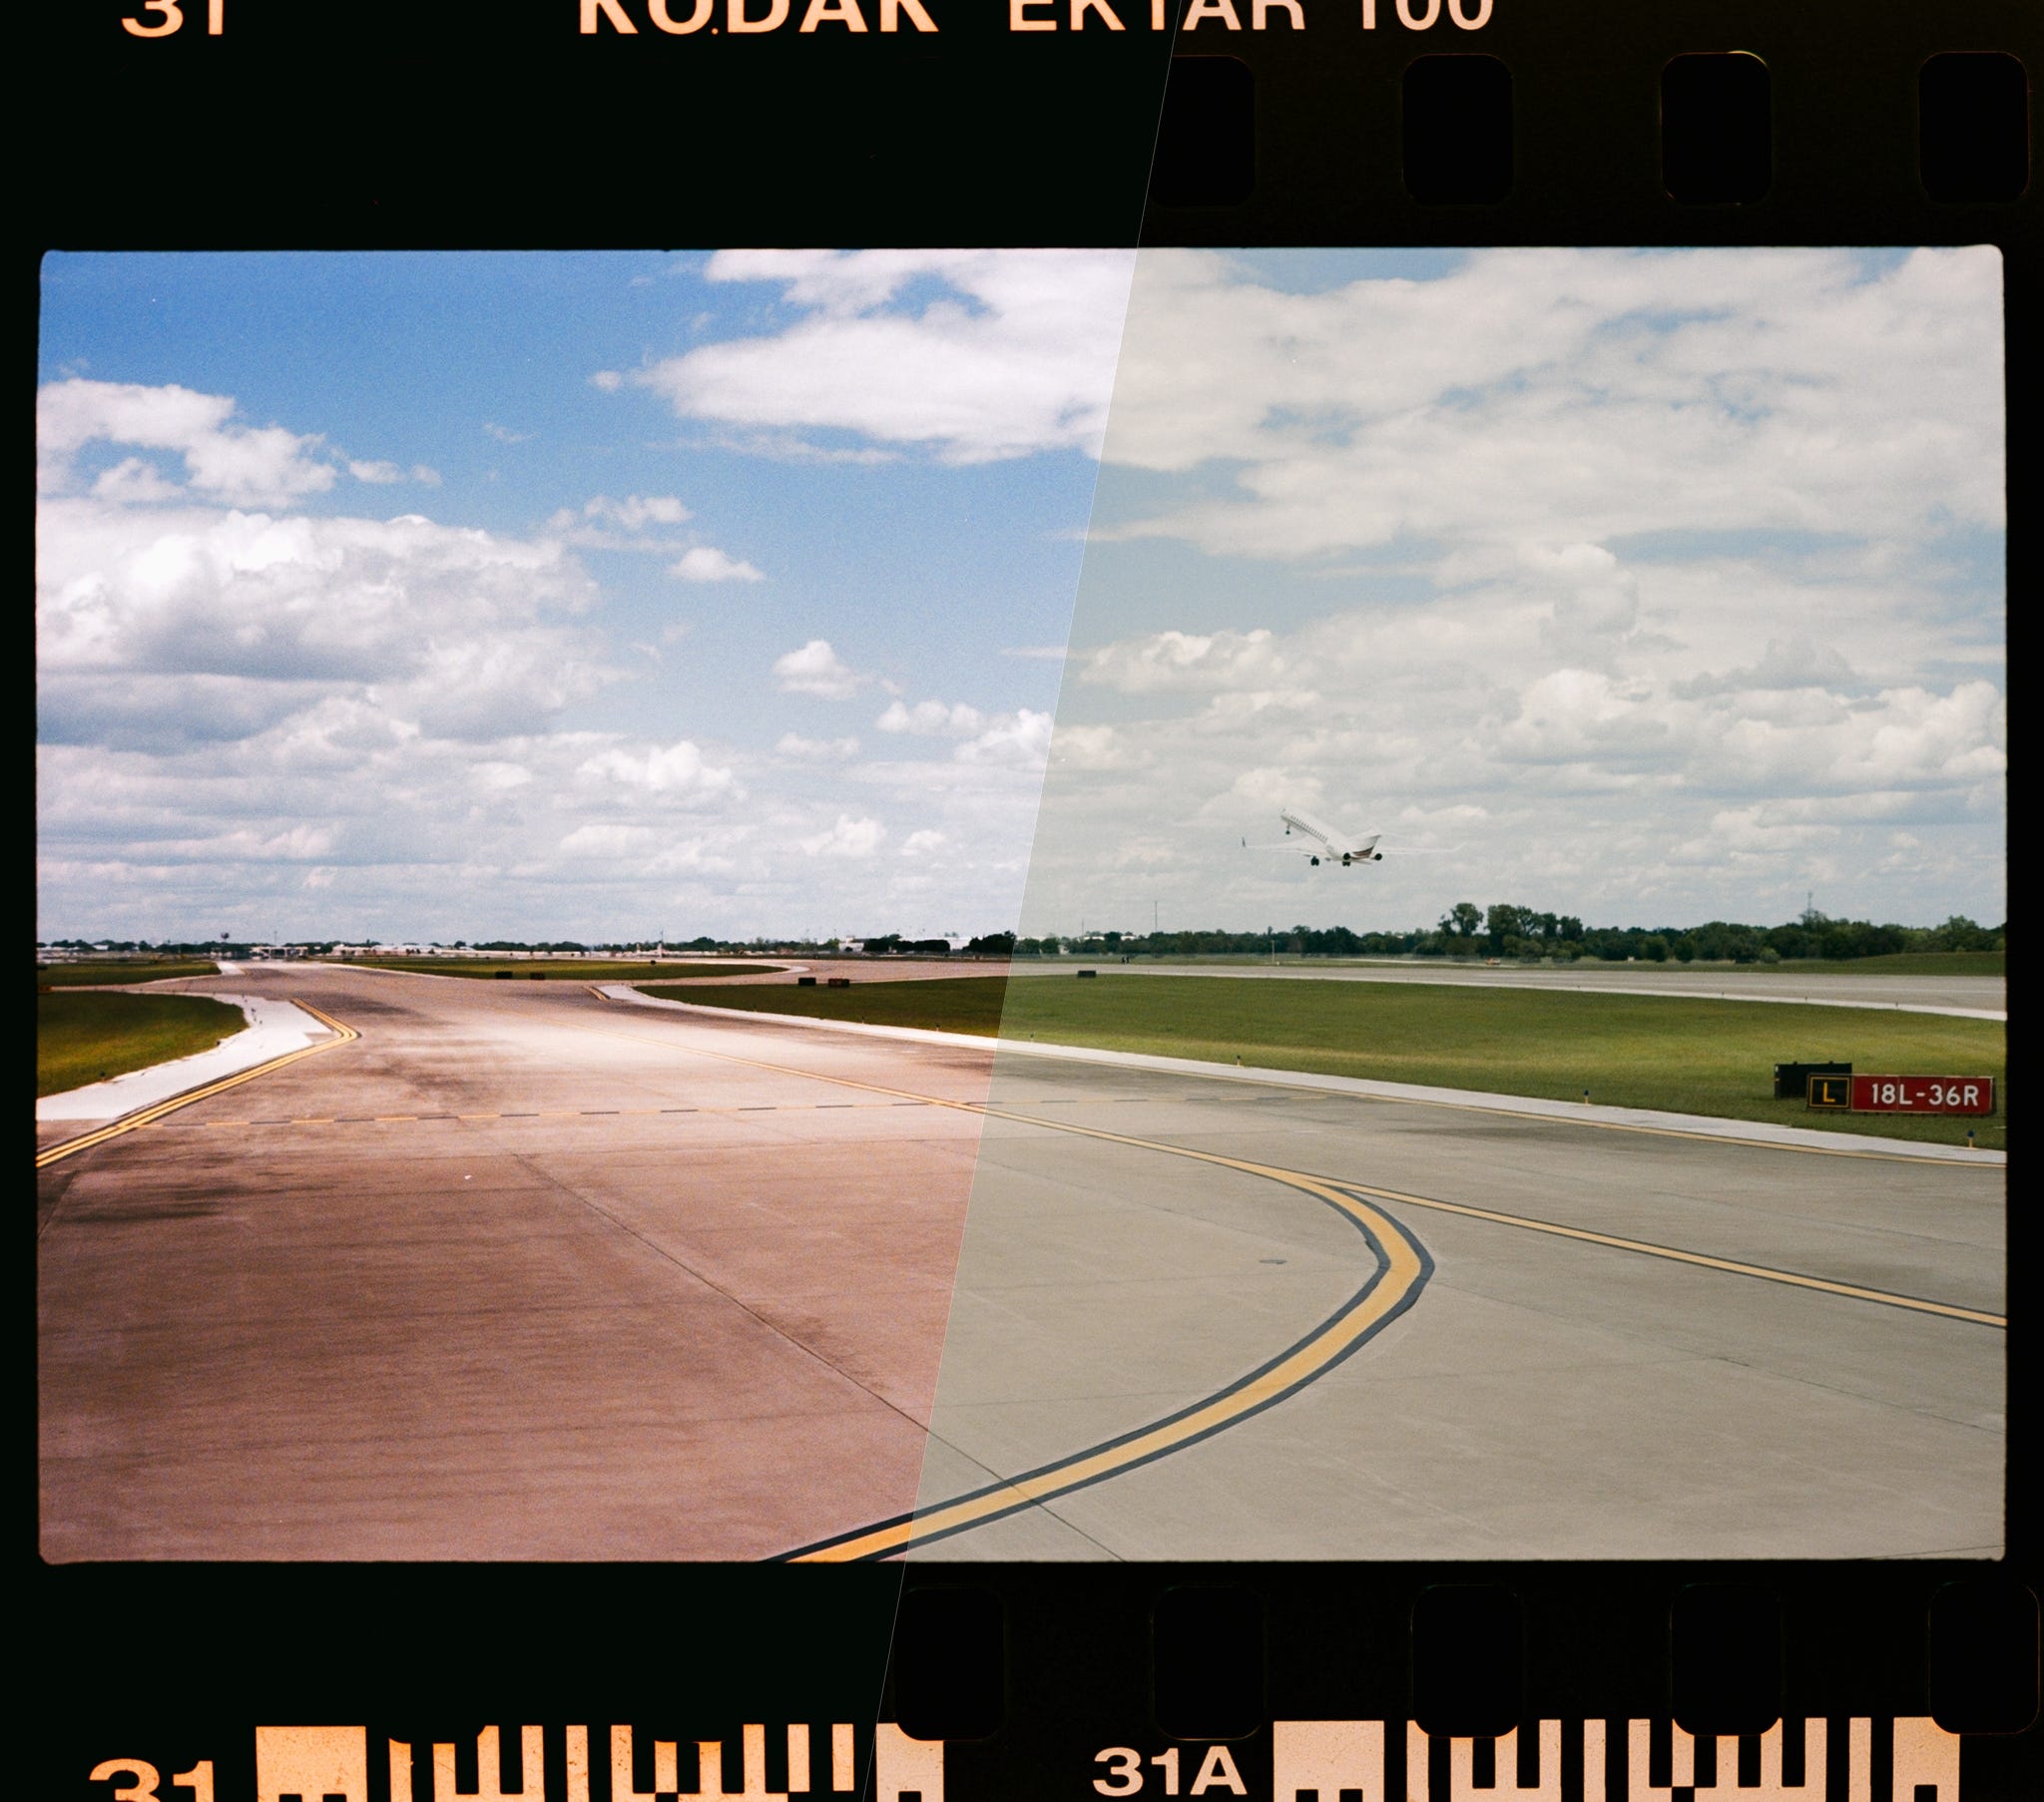
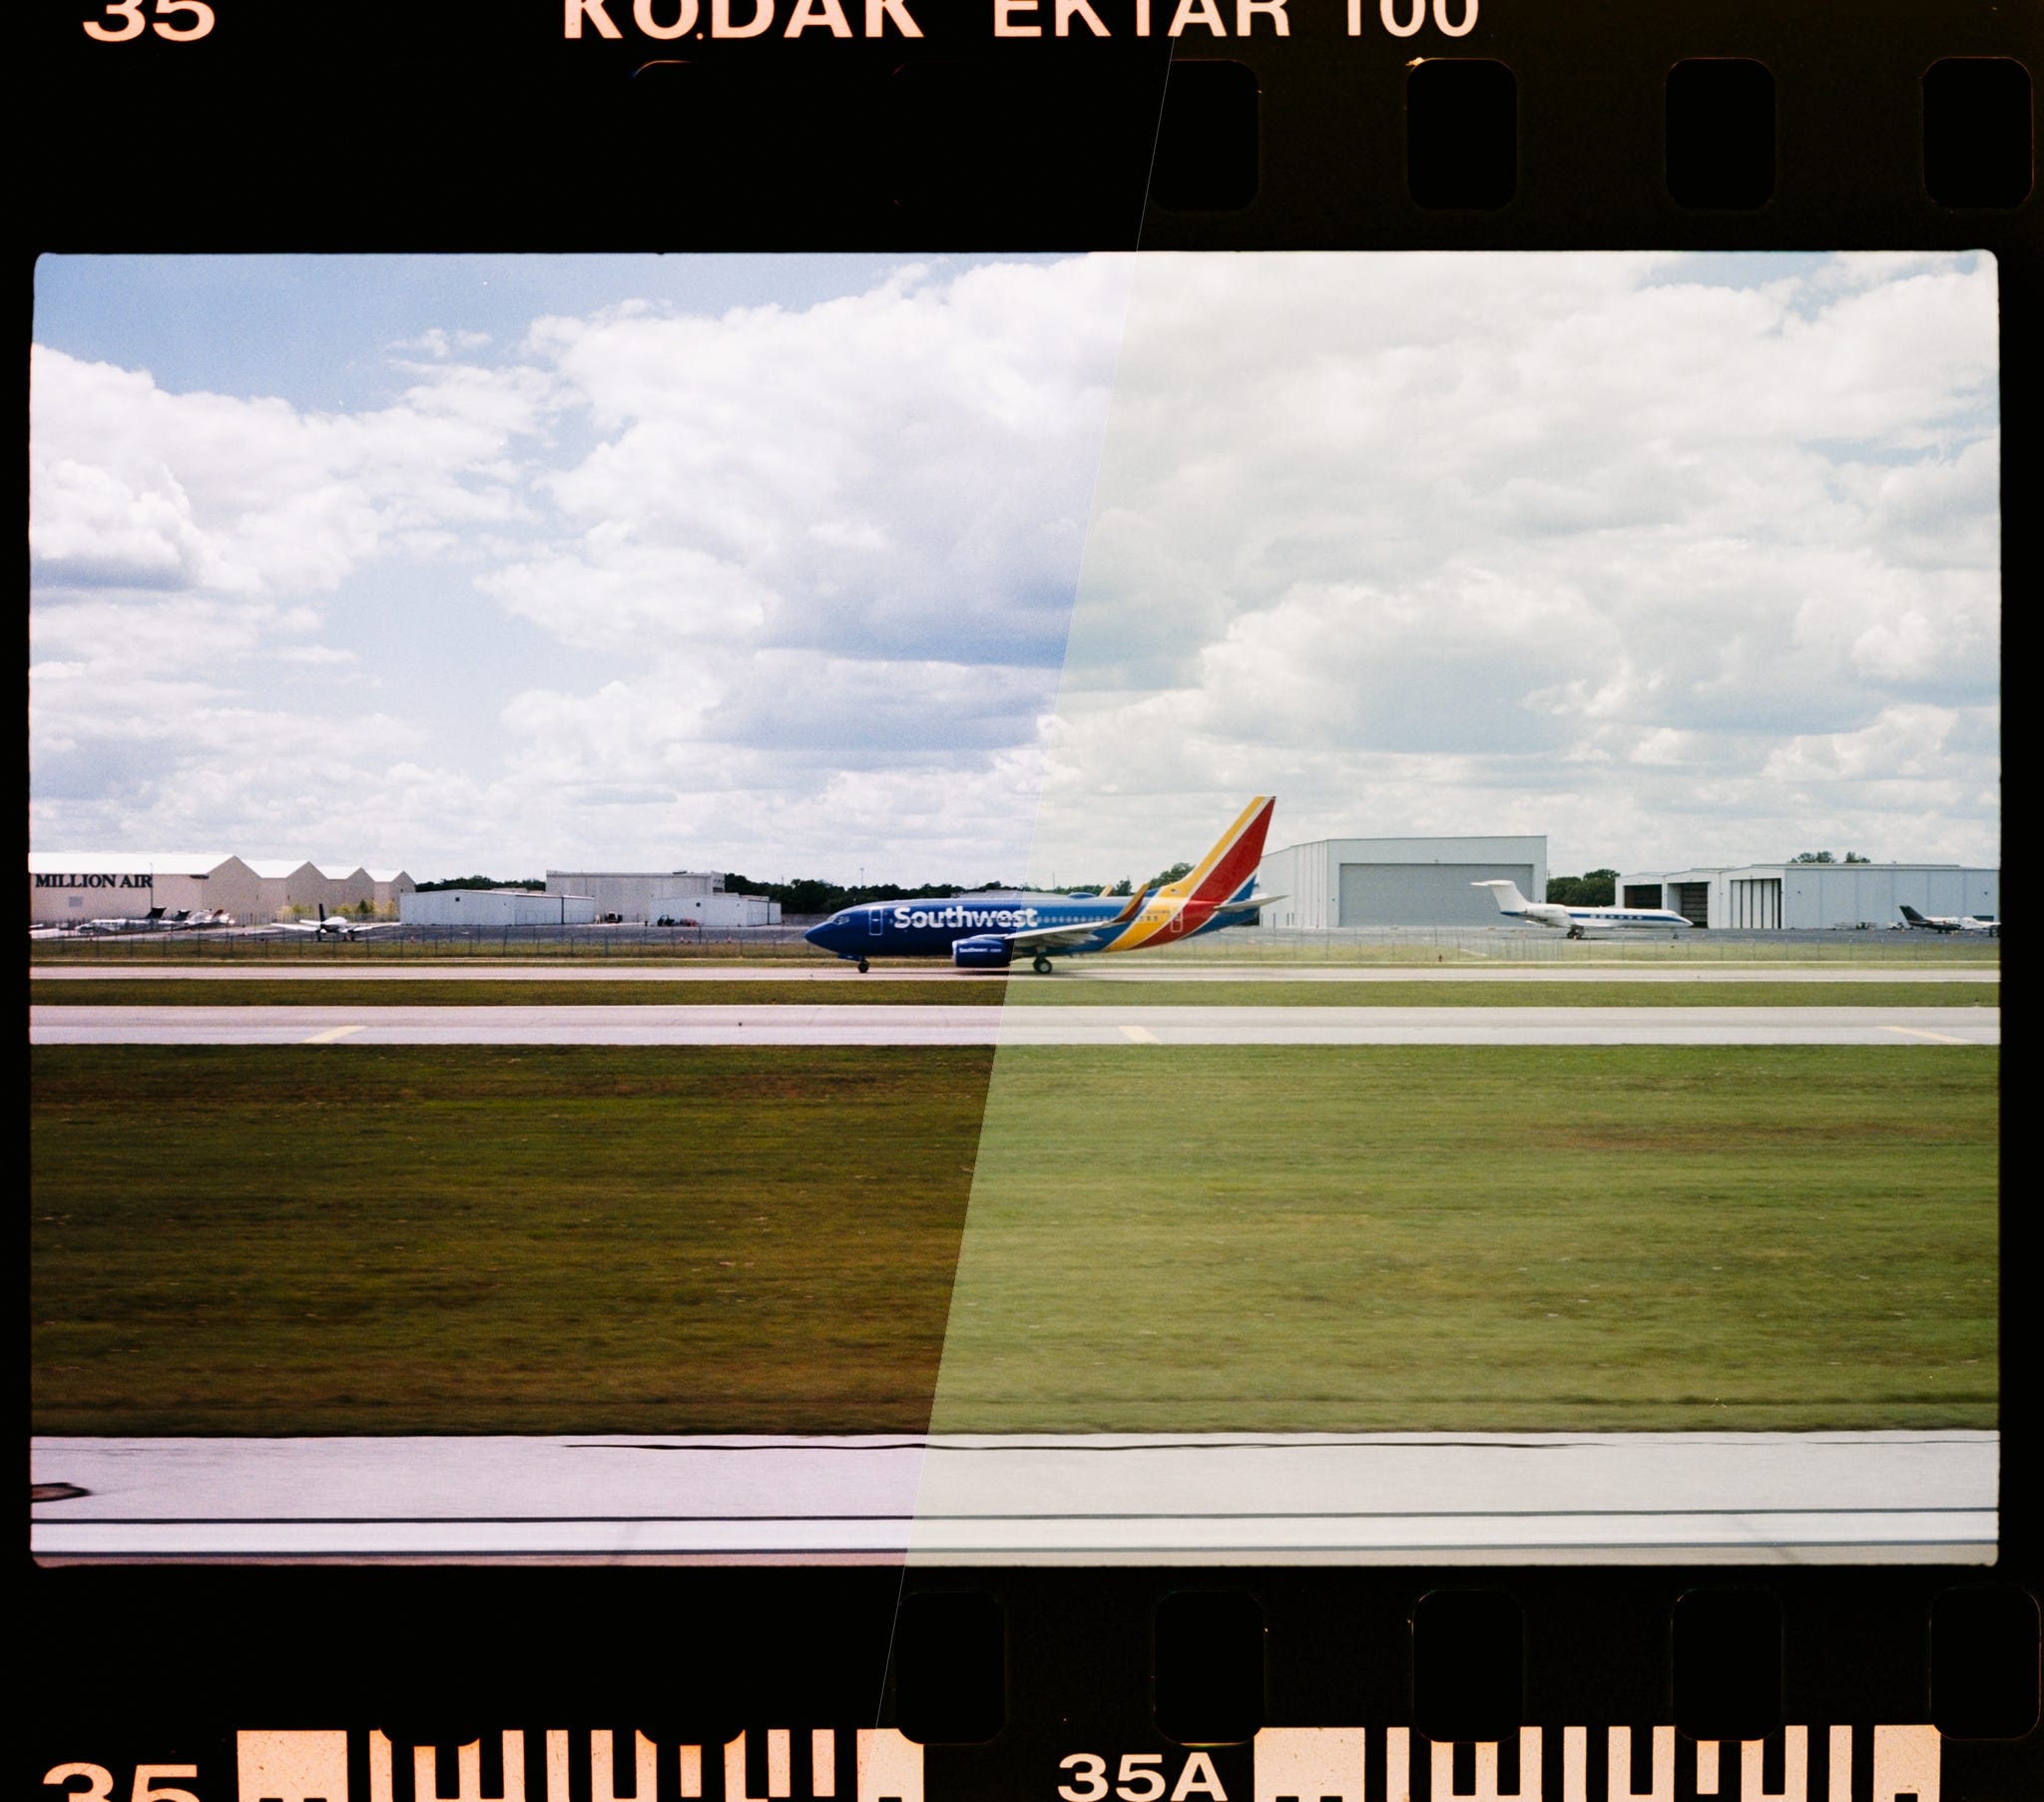
The first time it happened was during a trip to Texas, where I was capturing expansive colors with a Voitgtländer Bessa R2A of an airplane taking, from my window seat. The second occurrence was at the beach with a Leica Minilux. The fact that I had the same symptoms using two different cameras ringed a bell, because I initially blamed what I thought was lens vignetting or perhaps the effects of shooting at very closed apertures, turns out it was not…
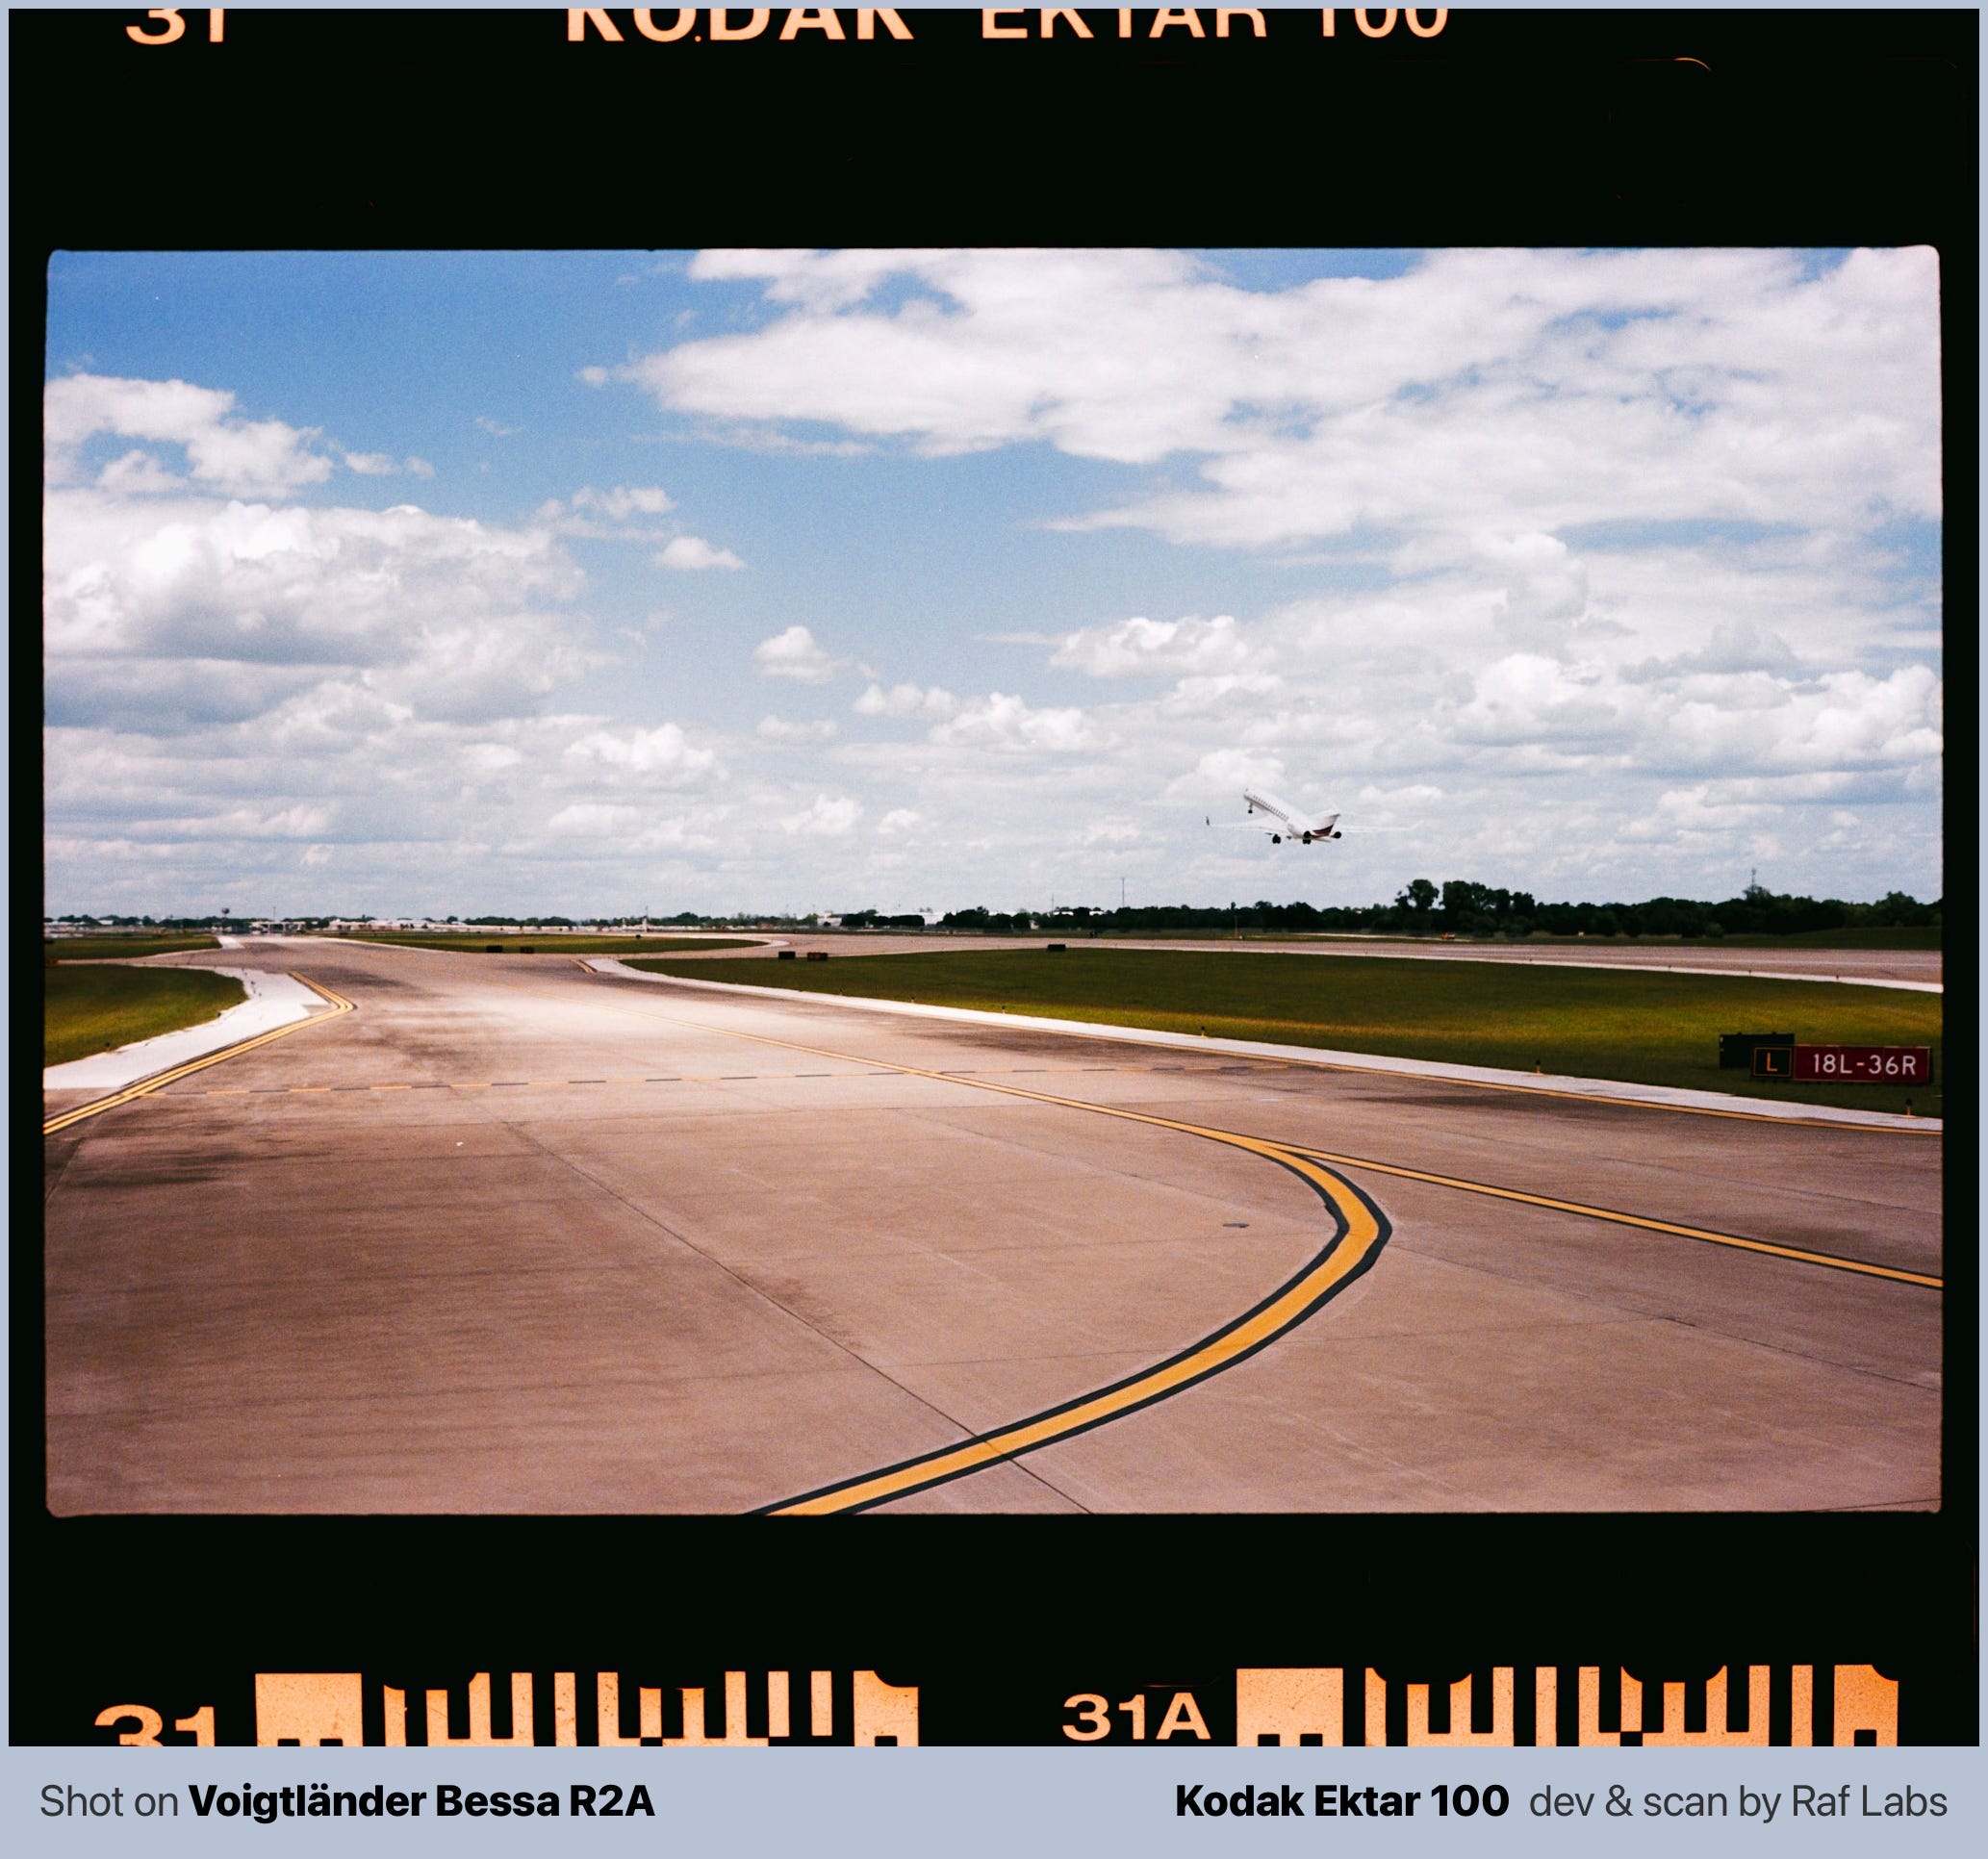
That amount of grain and the yellow-ish film border lettering defnitely doesn't well-represent Ektar 100. Same with the sky that was supposed to be light blue without the super strong vignetting and grain, especially for an ISO 50 film, like the CineStill 50D!! Although it might look nice, I don't want the shot looking like the below…
Only now do I understand that the real culprit was Negative Lab Pro's adaptive conversion algorithm struggling with images that lack sufficient color and tonal variety.
In addition, this is the exact same reason why blanked frames from within the same roll look bizarelly inconsistent, again, the images lack in color variety, so the algorythm gets crazy and struggle on providing me with something accurate.


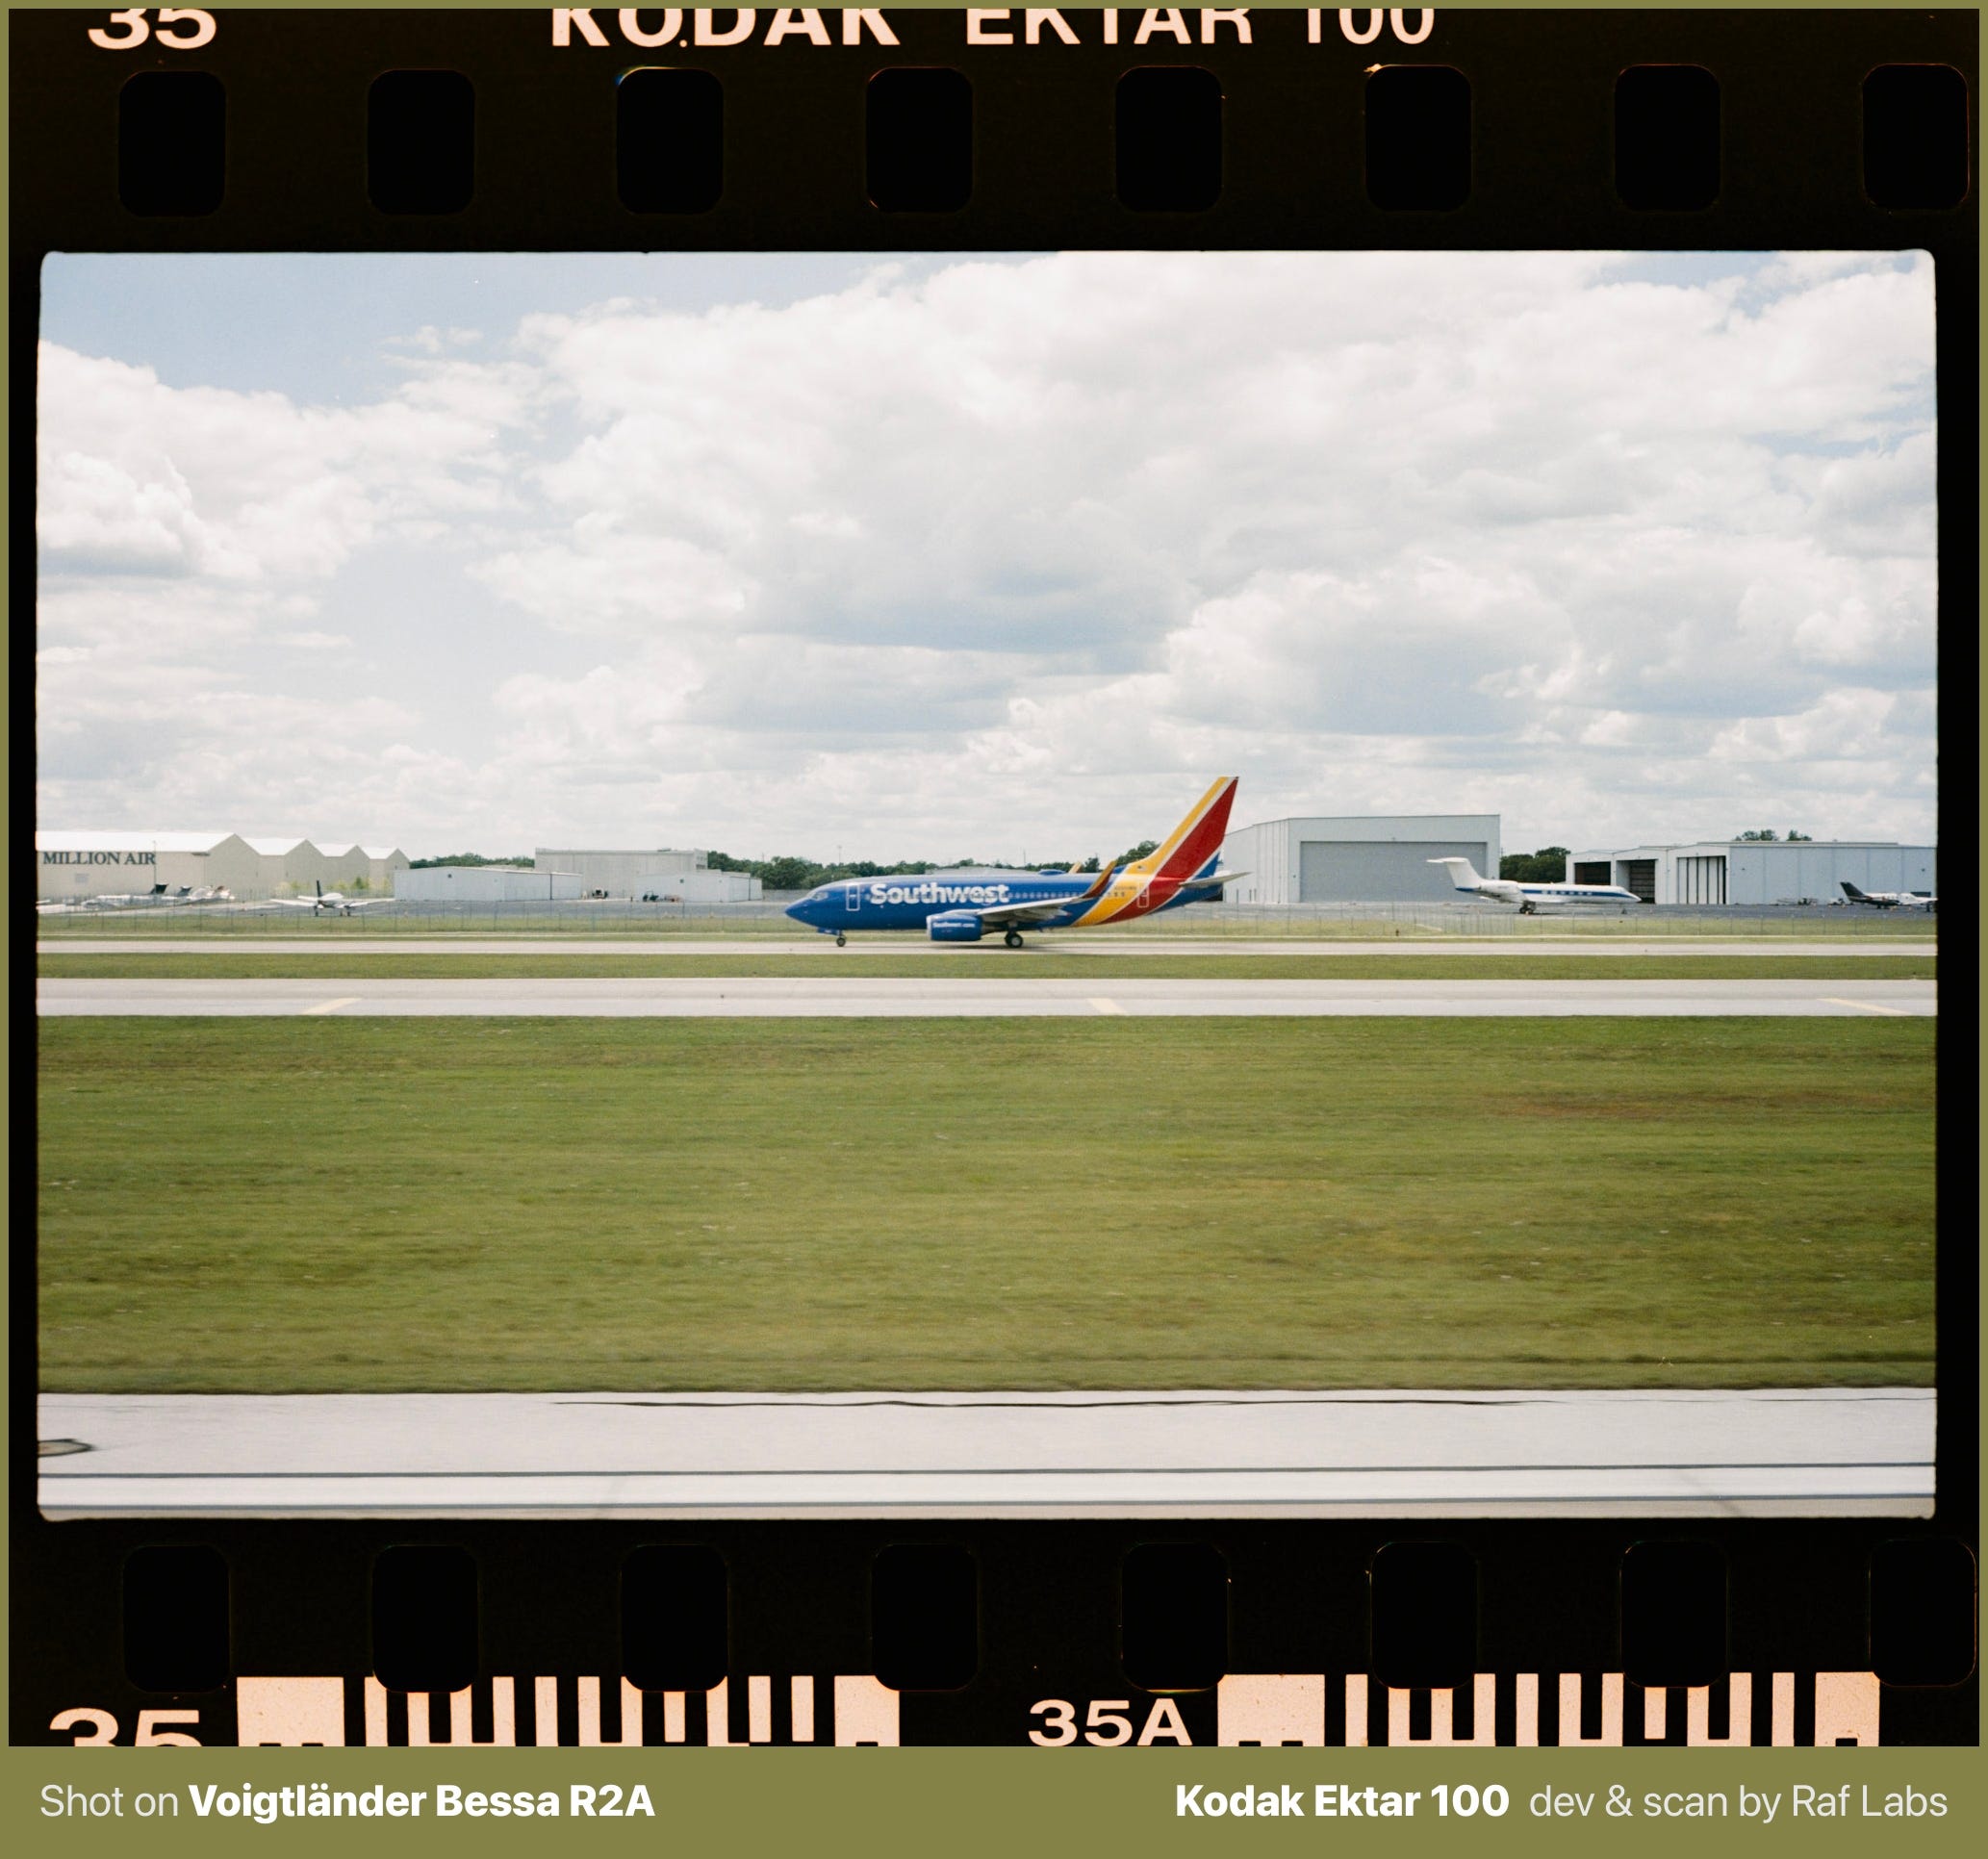
Just to give you an idea how these above look better when converting it using the tips you will find below, but only if you continue reading…


I've recorded a demonstration video showing this behavior in real-time. You can watch how NLP struggles with these challenging images and produces less than ideal results:
Understanding the Technical Reality and Finding Solutions
This issue has been discussed in a thread I opened in the Negative Lab Pro's forum, where community members and developers have shared their experiences. One particularly insightful response from the forum explains the technical reasoning behind this behavior:
"NLP uses the information it finds in an image as shown on screen. The more info NLP can see regarding colours and tonality, the more likely it is that the conversion turns out in a way that can be used directly or as a good starting point.
Your 'problem' image is no problem in itself, but it contains mostly a few hues of blue, low contrast and no relevant amount of green and red. Therefore, NLP has not much to work with and still tries to give you something white and something black. Consequentially every little bit of vignetting is greatly amplified and colours turn out to be anything but acceptable in many cases. All of it is caused by NLP's adaptive conversion and can therefore be considered to be normal.
In situations like these, roll analysis can help get you more suitable results. You can also sync settings from other images or include some of the space between the negatives. Including sprocket holes can help too. All these measures provide greater variety for NLP to work with.
Remember: NLP works with what it gets. The less it gets, the more surprises you'll get."
Armed with this knowledge, I'm now planning to revisit my previous scans from Texas and the beach, let's fix them!
THE SOLUTION lies on a healthy-colored adjacent photo
The solution isn't just about messing up with NLP's sliders after badly relying on its conversion algorythm. Once it has been wrongly initially analyzed, there's nothing much you can do, because the tone curves got messed up as well.
The solution also isn't about copying NLP parameters from better-exposed frames on the same roll, you have to copy the entire color analysis as well. The version 3.1+ of NLP allows that, it's now called "Match” rather than just “Sync”.
Here's my workflow (try it with a Virtual Copy so you have A/B):
Fully reset the problematic negative
Unconvert it in NLP
Use Lightroom's "Reset” button for a full reset
Re-apply white-balance
either from an adjacent frame via Lr copy-paste
or by profiling from the film border
Convert it again with NLP using any setting, apply, leave NLP
Select both the healthy frame and the problematic one, open NLP
remember to use the Develop module for performance
Go to the healthy frame
click on “Match” and then “Sync”
on that specific order
This approach should apply on the problematic image what the algorithm had calculated for a photo with the broader color and tonal context it needs to properly operate, and since they were images from the same film roll, it should look good now…
Corrected negative conversion using the above tips
Side-by-side comparison
It’s even more shocking to see the discrepancy when looking that way… left side is wrong and right side is, well, right.

Also, as the über Nerd I am, I created a software to perform these comparisons, LOL. Post about that coming later.
The State of Negative Conversion: Software Limitations and Digital Darkroom Reality
This experience has highlighted a much larger issue in the film photography community: the state of negative conversion of the best software is frankly disappointing for beginners.
Negative Lab Pro, despite its flaws, remains one of the few viable options for converting negatives. It's incredibly complex capacity, yet it comes with virtually no comprehensive instruction manual or quality educational content. The few YouTube tutorials that exist barely scratch the surface of its capabilities, and mostly important: limitations.
The alternatives? They're either more complicated (SilverFast, I'm looking at you with the evil eyes…), to use or frustratingly unstable, like the CineStill's messy presets and mediocre text file documentation.
We're essentially stuck with limited options in what should be a mature software category.
What should be a straightforward process (converting a negative to a positive) has become a chore in digital precision. The same negative can produce wildly different results depending on the software used and the settings applied. It is, indeed, like having multiple darkroom technicians process the same negative with completely different techniques and chemistry, each producing a unique interpretation of the source material.
Is that good? Bad? Unique? What do you think?
This inconsistency reveals an uncomfortable truth: digital negative conversion has become the new darkroom work. What once required chemical expertise and physical technique now demands deep software knowledge and digital processing skills. We've essentially become digital darkroom technicians, often requiring the same level of expertise that traditional lab workers possessed. The difference is that instead of understanding chemistry and enlarger techniques, we need to master complex software interfaces, color theory, and digital imaging principles.
The romantic notion that scanning a negative and hitting "convert" would give us perfect results has proven to be naive. Like the darkroom masters of old, we must develop expertise, patience, and an understanding of our tools' limitations, with the additional problem that each screen visualizes the thing differently.
Final Thoughts: The Right Tool for the Job
Understanding these limitations doesn't diminish the value of tools like Negative Lab Pro, it simply helps us use them more effectively. The key is recognizing when we're asking the software to perform beyond its capabilities and knowing how to work around those limitations.
For fellow film photographers dealing with similar issues: document your problem images, understand the patterns, and develop workflows that account for these technical realities. The digital darkroom may be different from its chemical predecessor, but it still requires the same dedication to craft and technique.
As usual in computer science, there's no universally "better" tool, but the right tool for the specific job at hand. Training, curiosity, and knowledge remain the key ingredients for success, whether we're working with chemicals in a traditional darkroom or pixels in a digital workspace.
The transition from chemical to digital processing has brought new challenges that the film photography community is still learning to navigate.
Share your thoughts and your own experiences with negative conversion software in the comments below, or perhaps share this post or subscribe to FotogRAFia!
Would you like to see more detailed posts about negative conversion techniques and Negative Lab Pro workflows? I can do that! But I need your subscription, and here's why:
I often reach out to software developers, like NLP, Filmonat, DxO, Adobe, etc. etc. saying that I run a film photography newsletter with X subscribers, and the higher this X, the more chances I have to receive software from them to evaluate, review, bring my opinion, and create articles like this for you to enjoy. In 5 steps, this should work like this:
You subscribe and I have better numbers
With better numbers, I have better reach
With better reach, I get more chances on getting software to evaluate
With getting more software, I write more stuff like this article
With more articles, you gain more good quality content
I’ll be interested to see what you think of the Negadoctor module in Darktable. People have also had good luck doing a more manual inversion in Rawtherapee, but I haven’t tried it yet.